My family recently moved to a home built in the year 2000, from our smaller, built in 1964, home I'd spent 15 years making convenient and comfortable. While the new home is beautiful and well made, it doesn't seem as if the previous owners thought much about technology.
Door Locks
I don't believe my children have ever had cause to use a mechanical door key. We've always had keypad locks, and love the security and convenience. The new house had a huge, ornate, front door lock which was broken when we purchased the house and was going to cost me $600 to fix, for a lock I didn't even want. Instead, a locksmith put in a
keypad based Schlage lock to match the one I installed in the side entrance—including matching the mechanical keys, which got tossed in the big bucket of keys, never to be used again. This is not a smart lock, I've never needed to open my doors remotely.
 |
| The old lock was a bit larger |
Networking
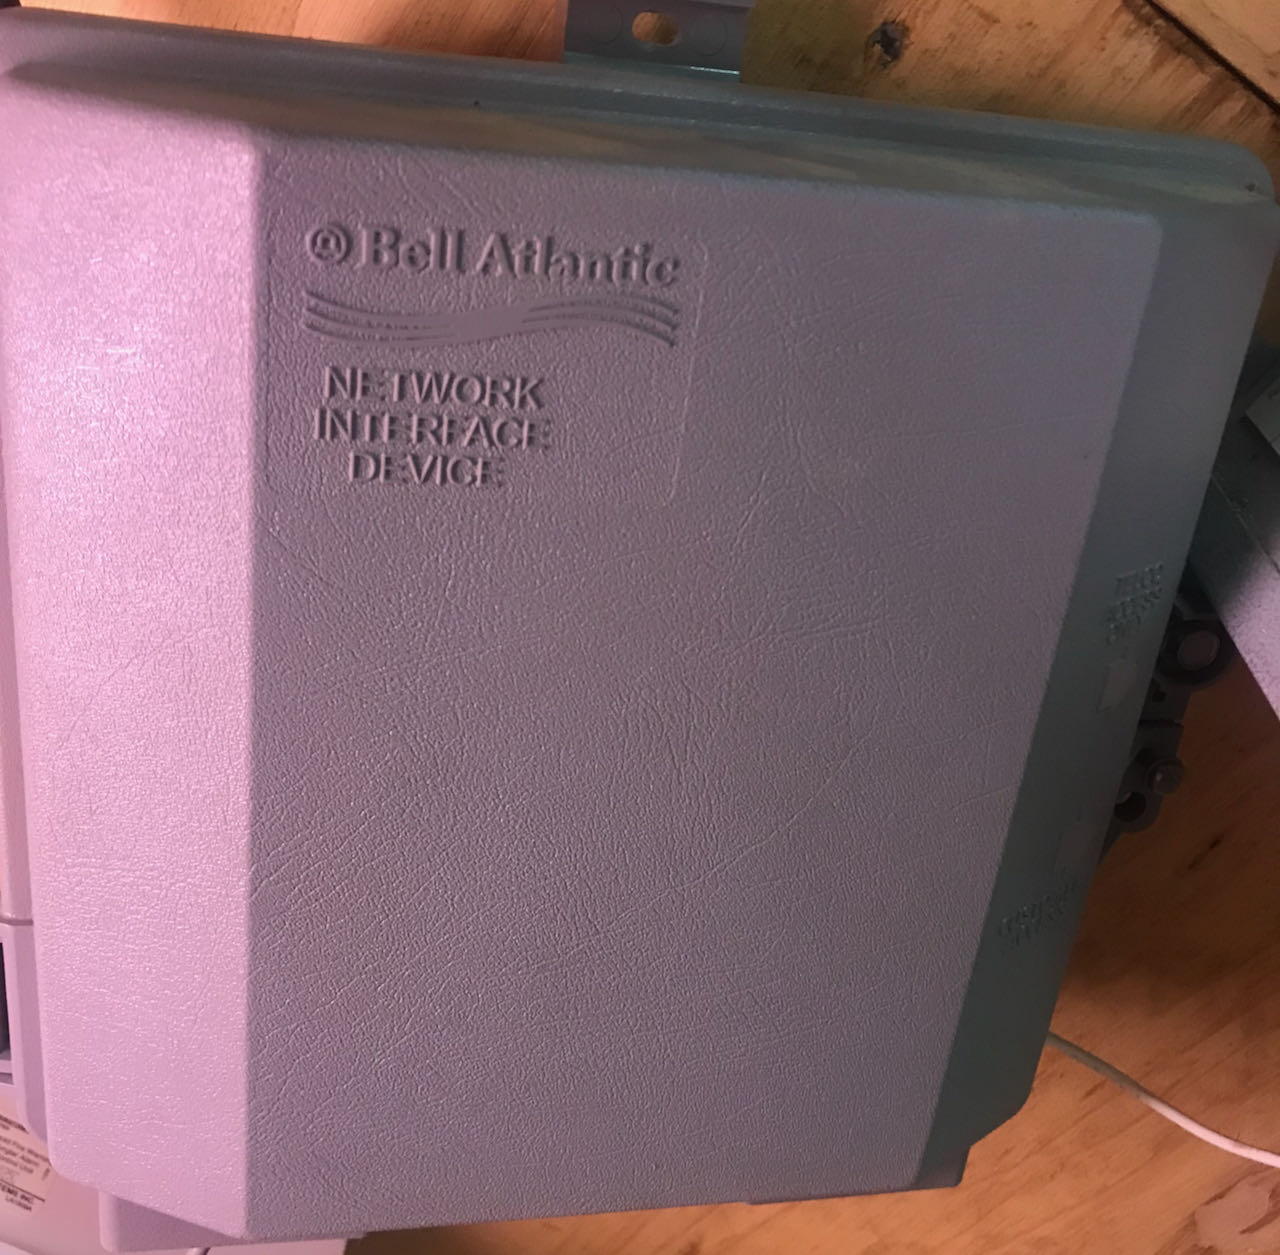
At the closing, I mentioned to the seller I'd be putting in Ethernet everywhere. He didn't think much of the idea, as he'd been blasting WiFi from the central office on the 2nd floor. But for me, wired networking is reliable networking, bringing uniform WiFi coverage throughout the house, from the basement guest room to the sunroom tucked on the far side of the garage. Indeed, our family had a horrible experience the first week, pre-network install getting by with a pair of ancient Airport Expresses.
When, a few weeks in, roofers were replacing the roof—see below—they gave me half an hour to enter the inaccessible portion of the attic over the general purpose room over the garage. A place no-one had seen for 20 years. Time to pull Ethernet and antenna coax from the main attic and into the wall behind the TV and place speaker wires. Later, a handy man came in to cut a hole in the ceiling allowing me to pull security camera cables, tidy up the speaker wires, add one last Ethernet port, and double up the insulation before sealing it for another 20 years.
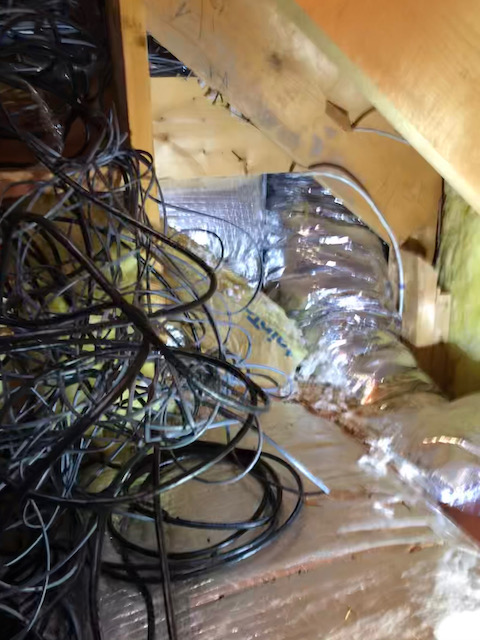 |
| I did untangle this |
I'm done pulling for now, because after I removed the blown in insulation in the attic, pulled as many wires as I could think of uses for, and replaced the blown-in insulation, adding anything more via the attic would be a several thousand dollar journey to the network closet. More could be added via the basement, and there are a couple of unused wires I pulled and decided not to use, but my wife is starting to make comments.
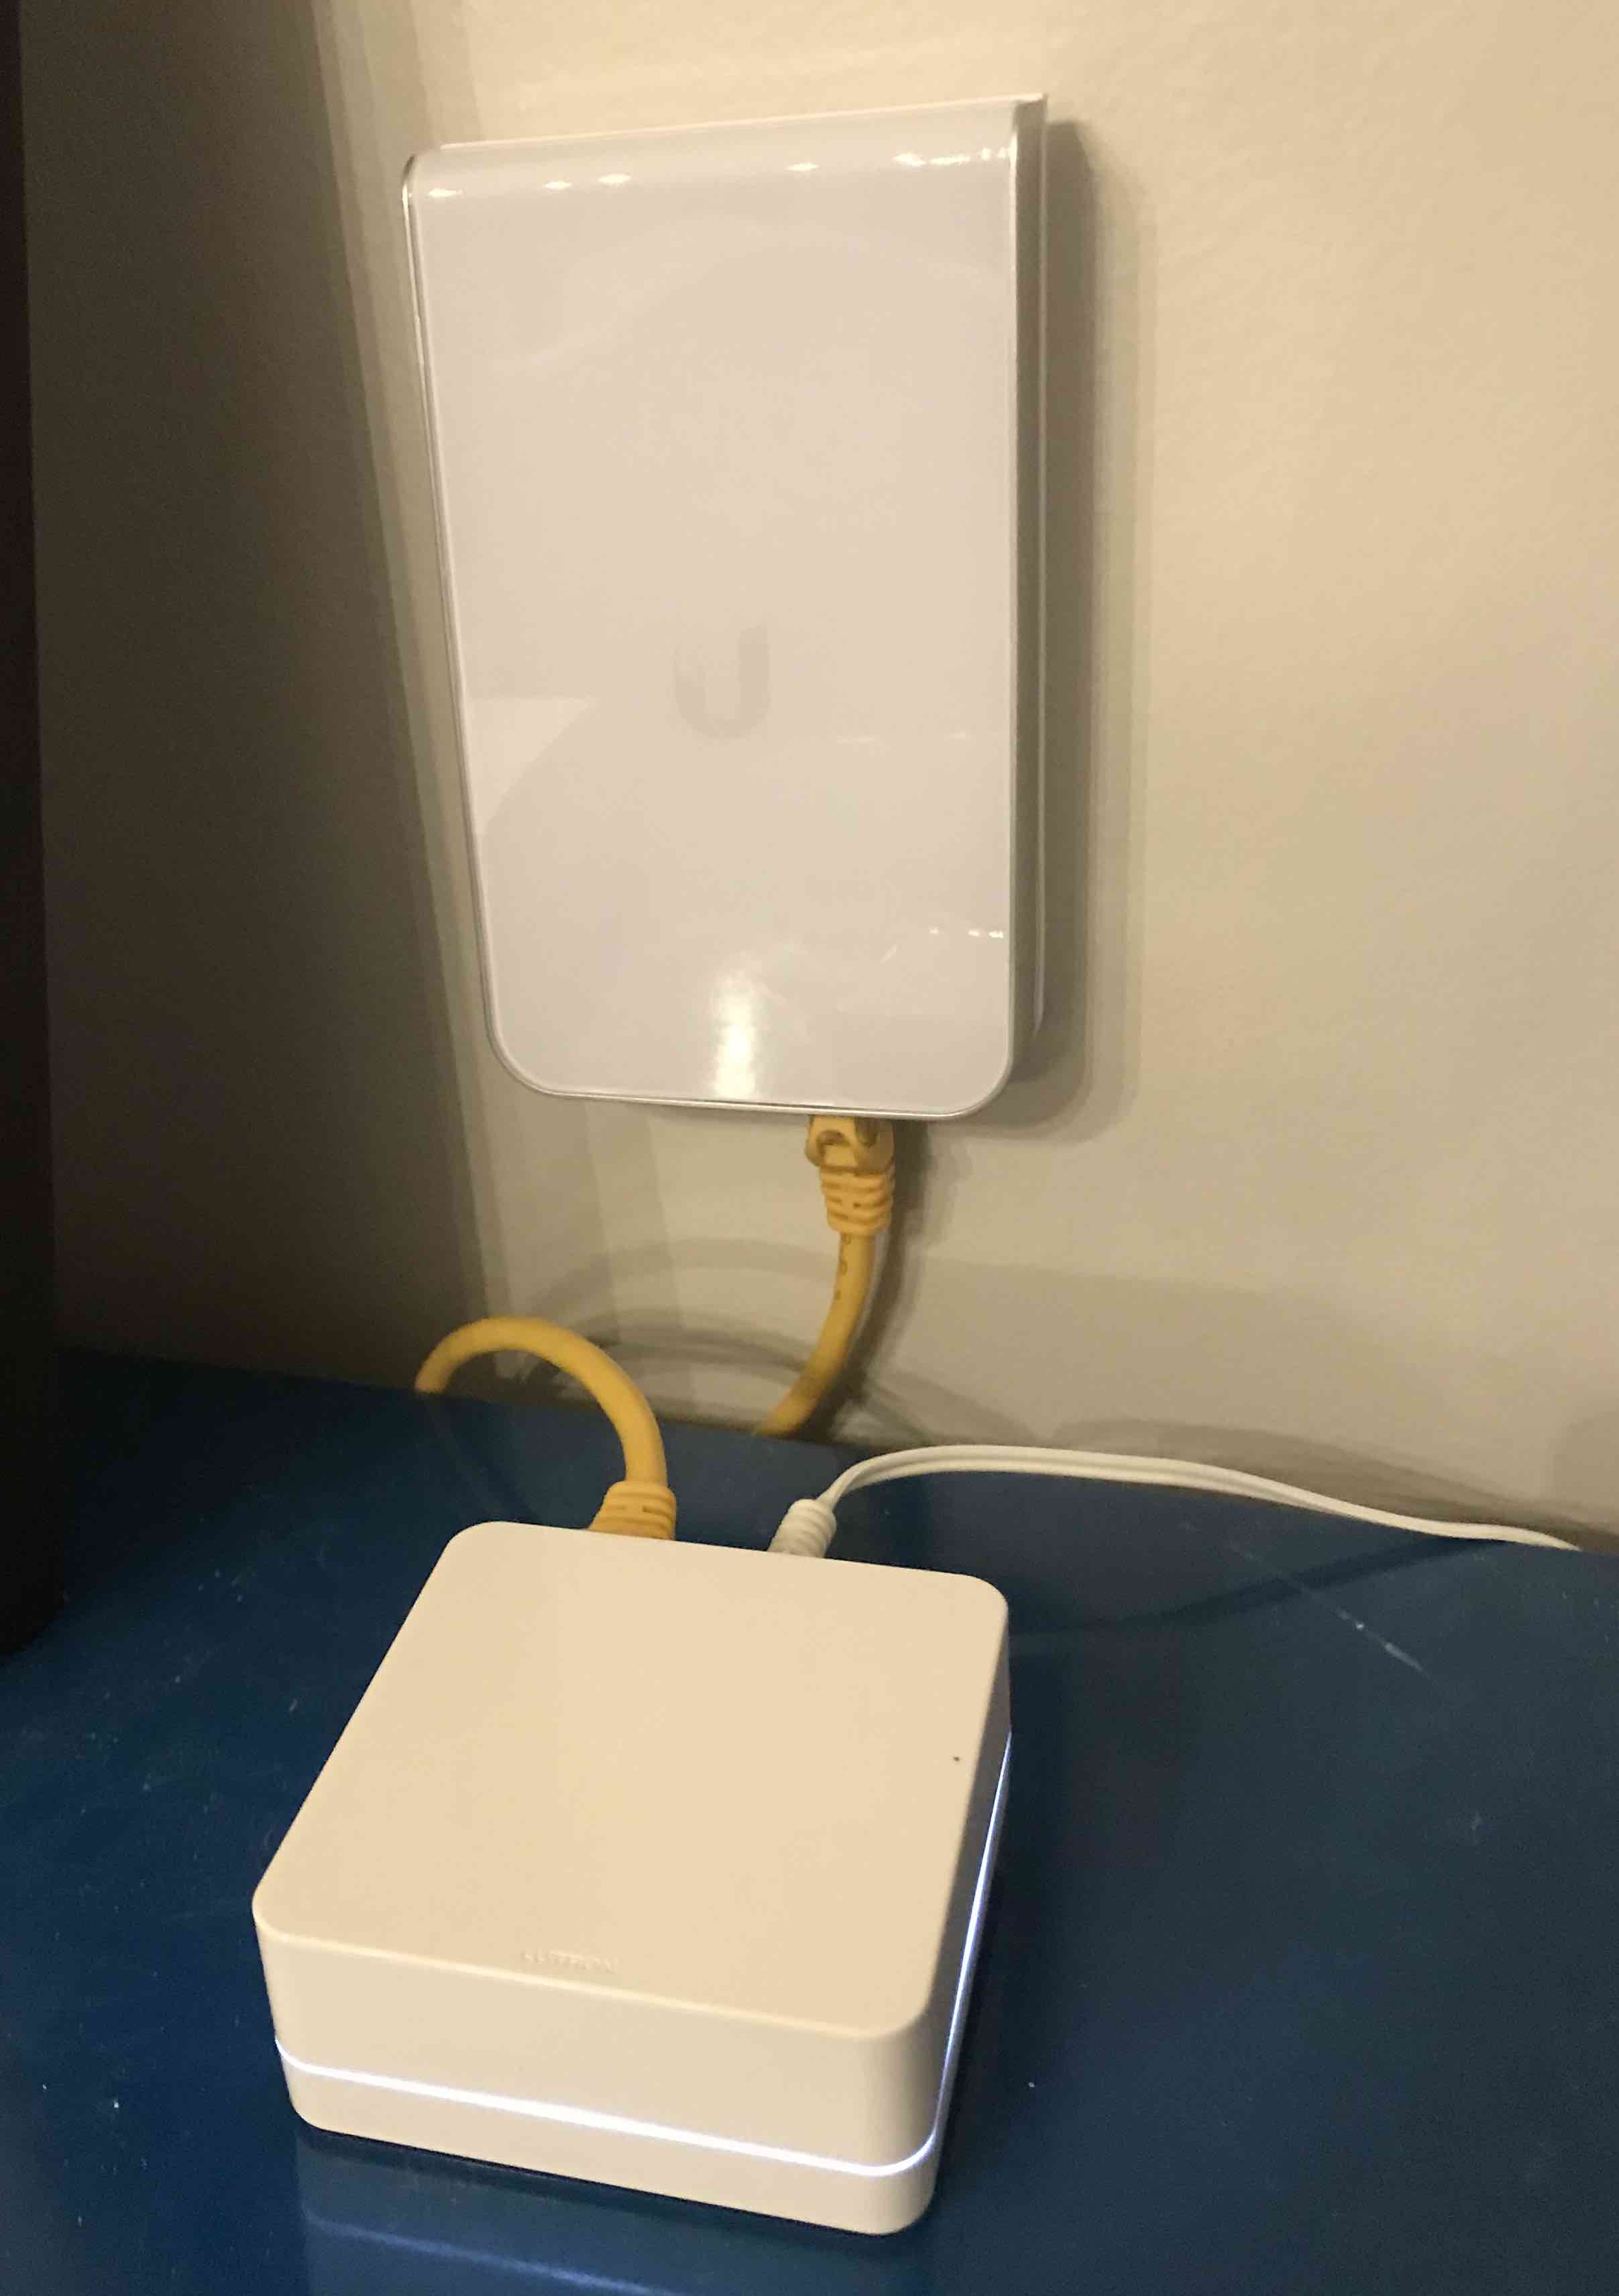
My biggest annoyance with Ubiquiti is the
rack mounted router whose loud fan which can easily be heard well down the hall from the network closet because the closet has a half door to let sunlight through in the evening. [Update: I opened both the router and the switch and replaced their fans with
Noctua NF-A4x20 FLX quality fans. Much better with about the same temperature.]
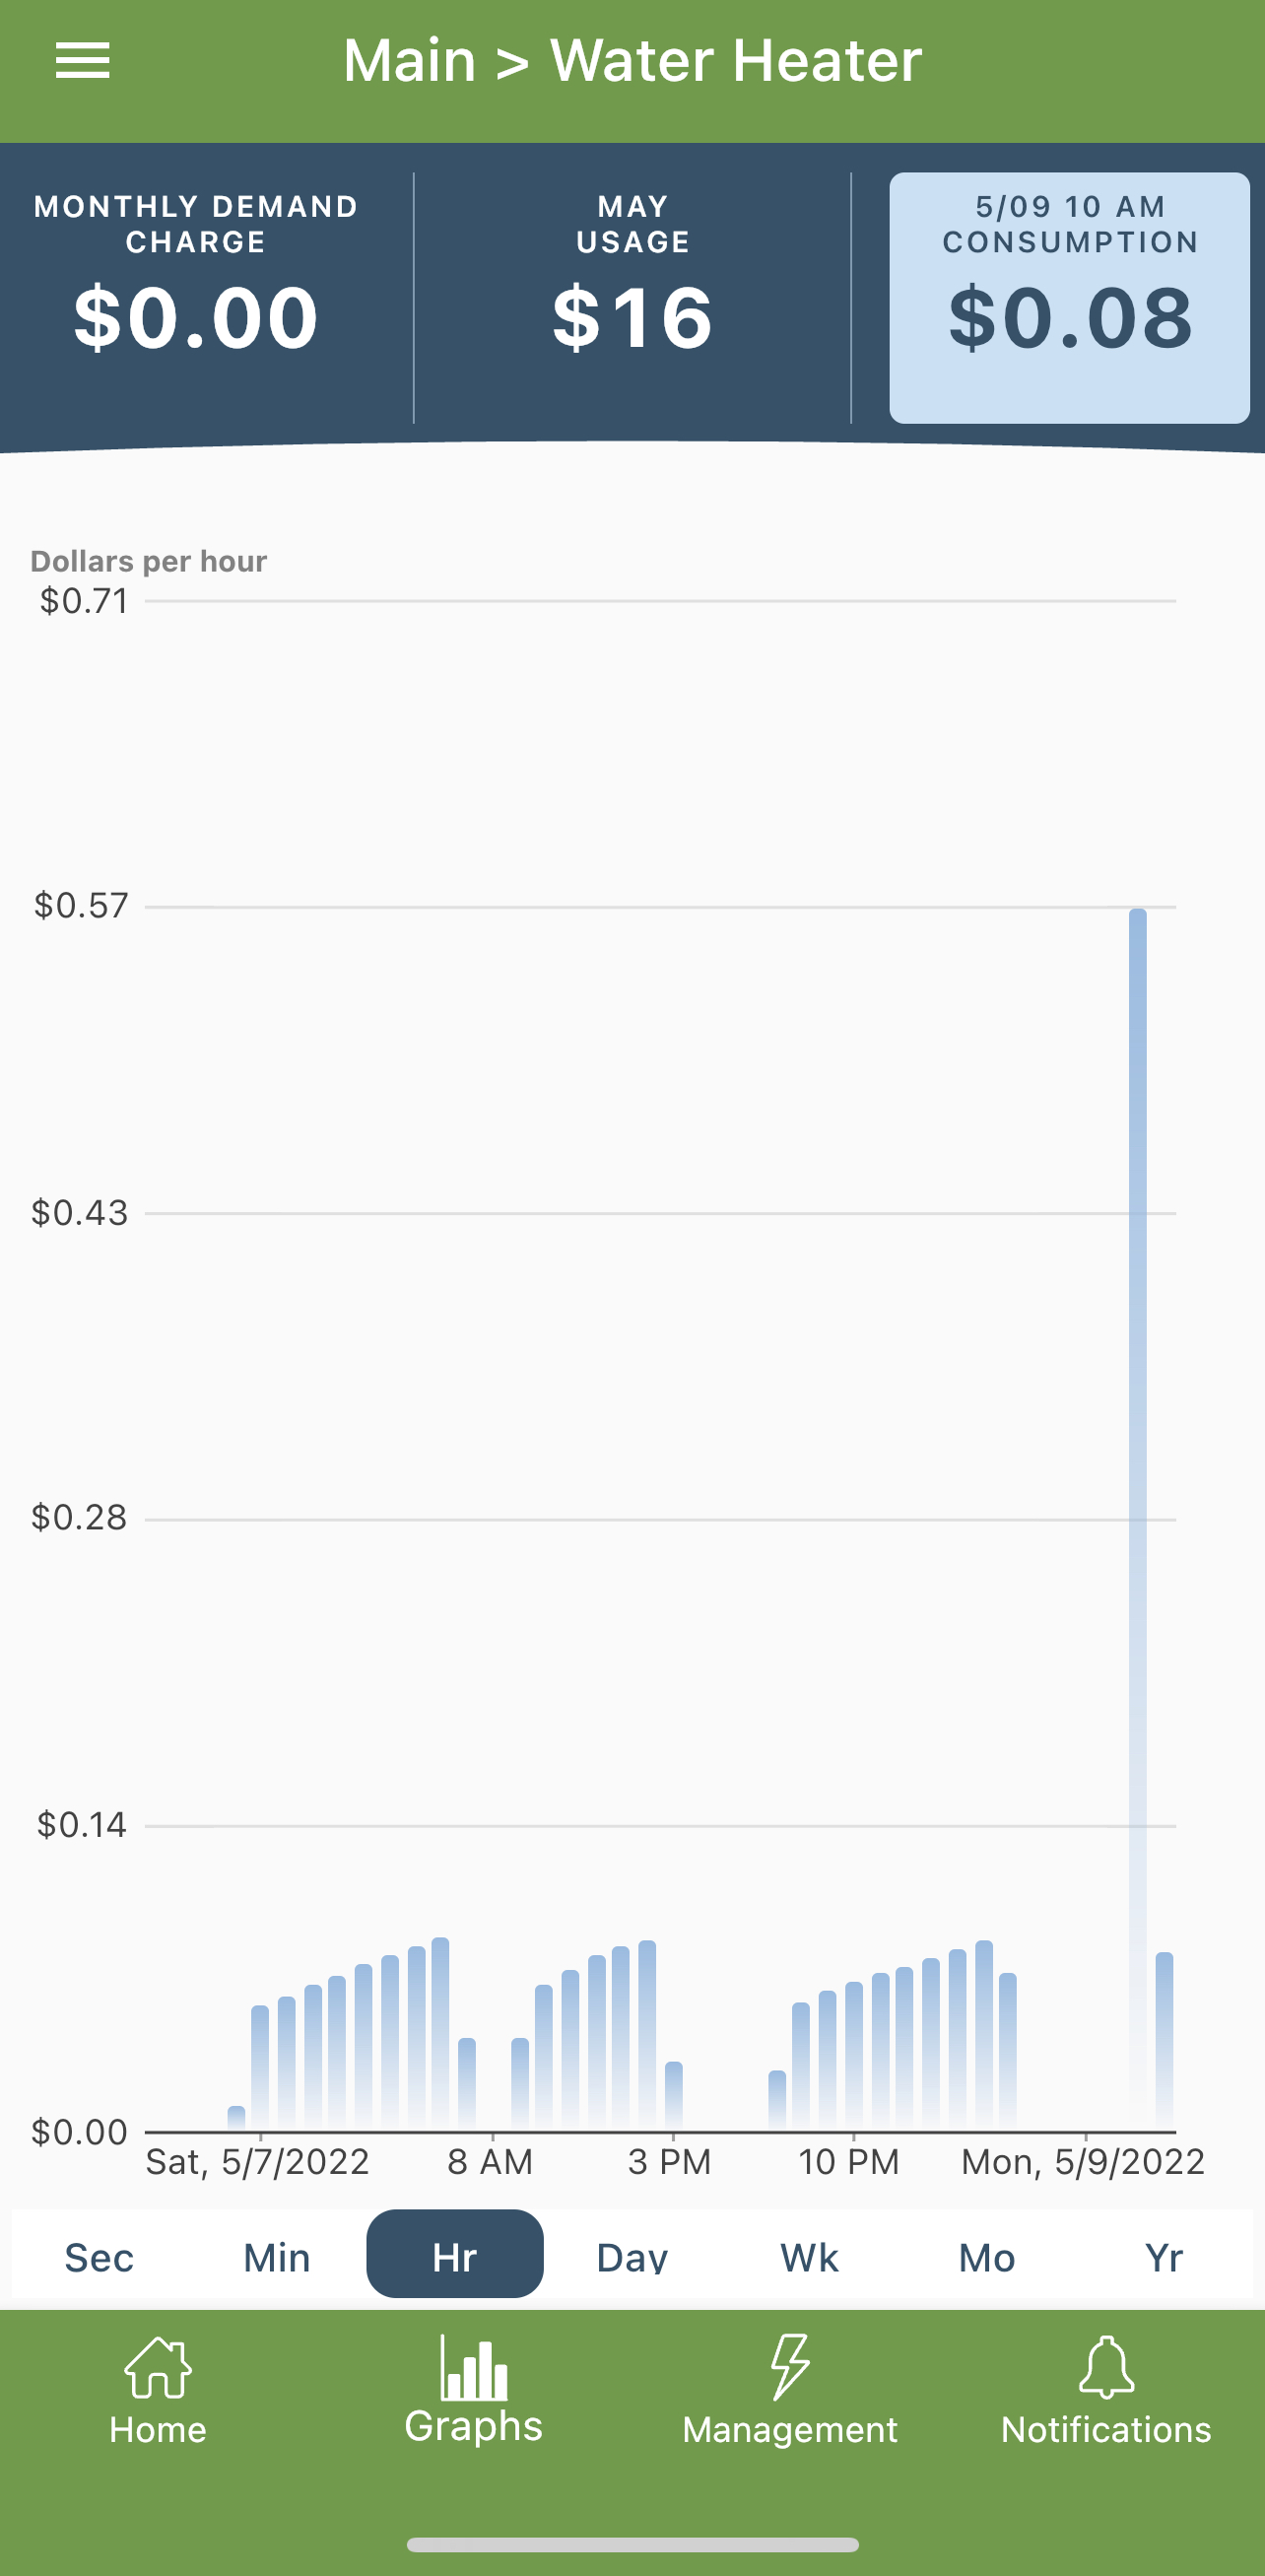
I learned through experience that if a cable isn't getting gigabit, as likely as not, it is a mis-punched wire, not the other end. So, check your punch-down connections. It's enlightening having a system which clearly lets me know when there is a problem with a connection.
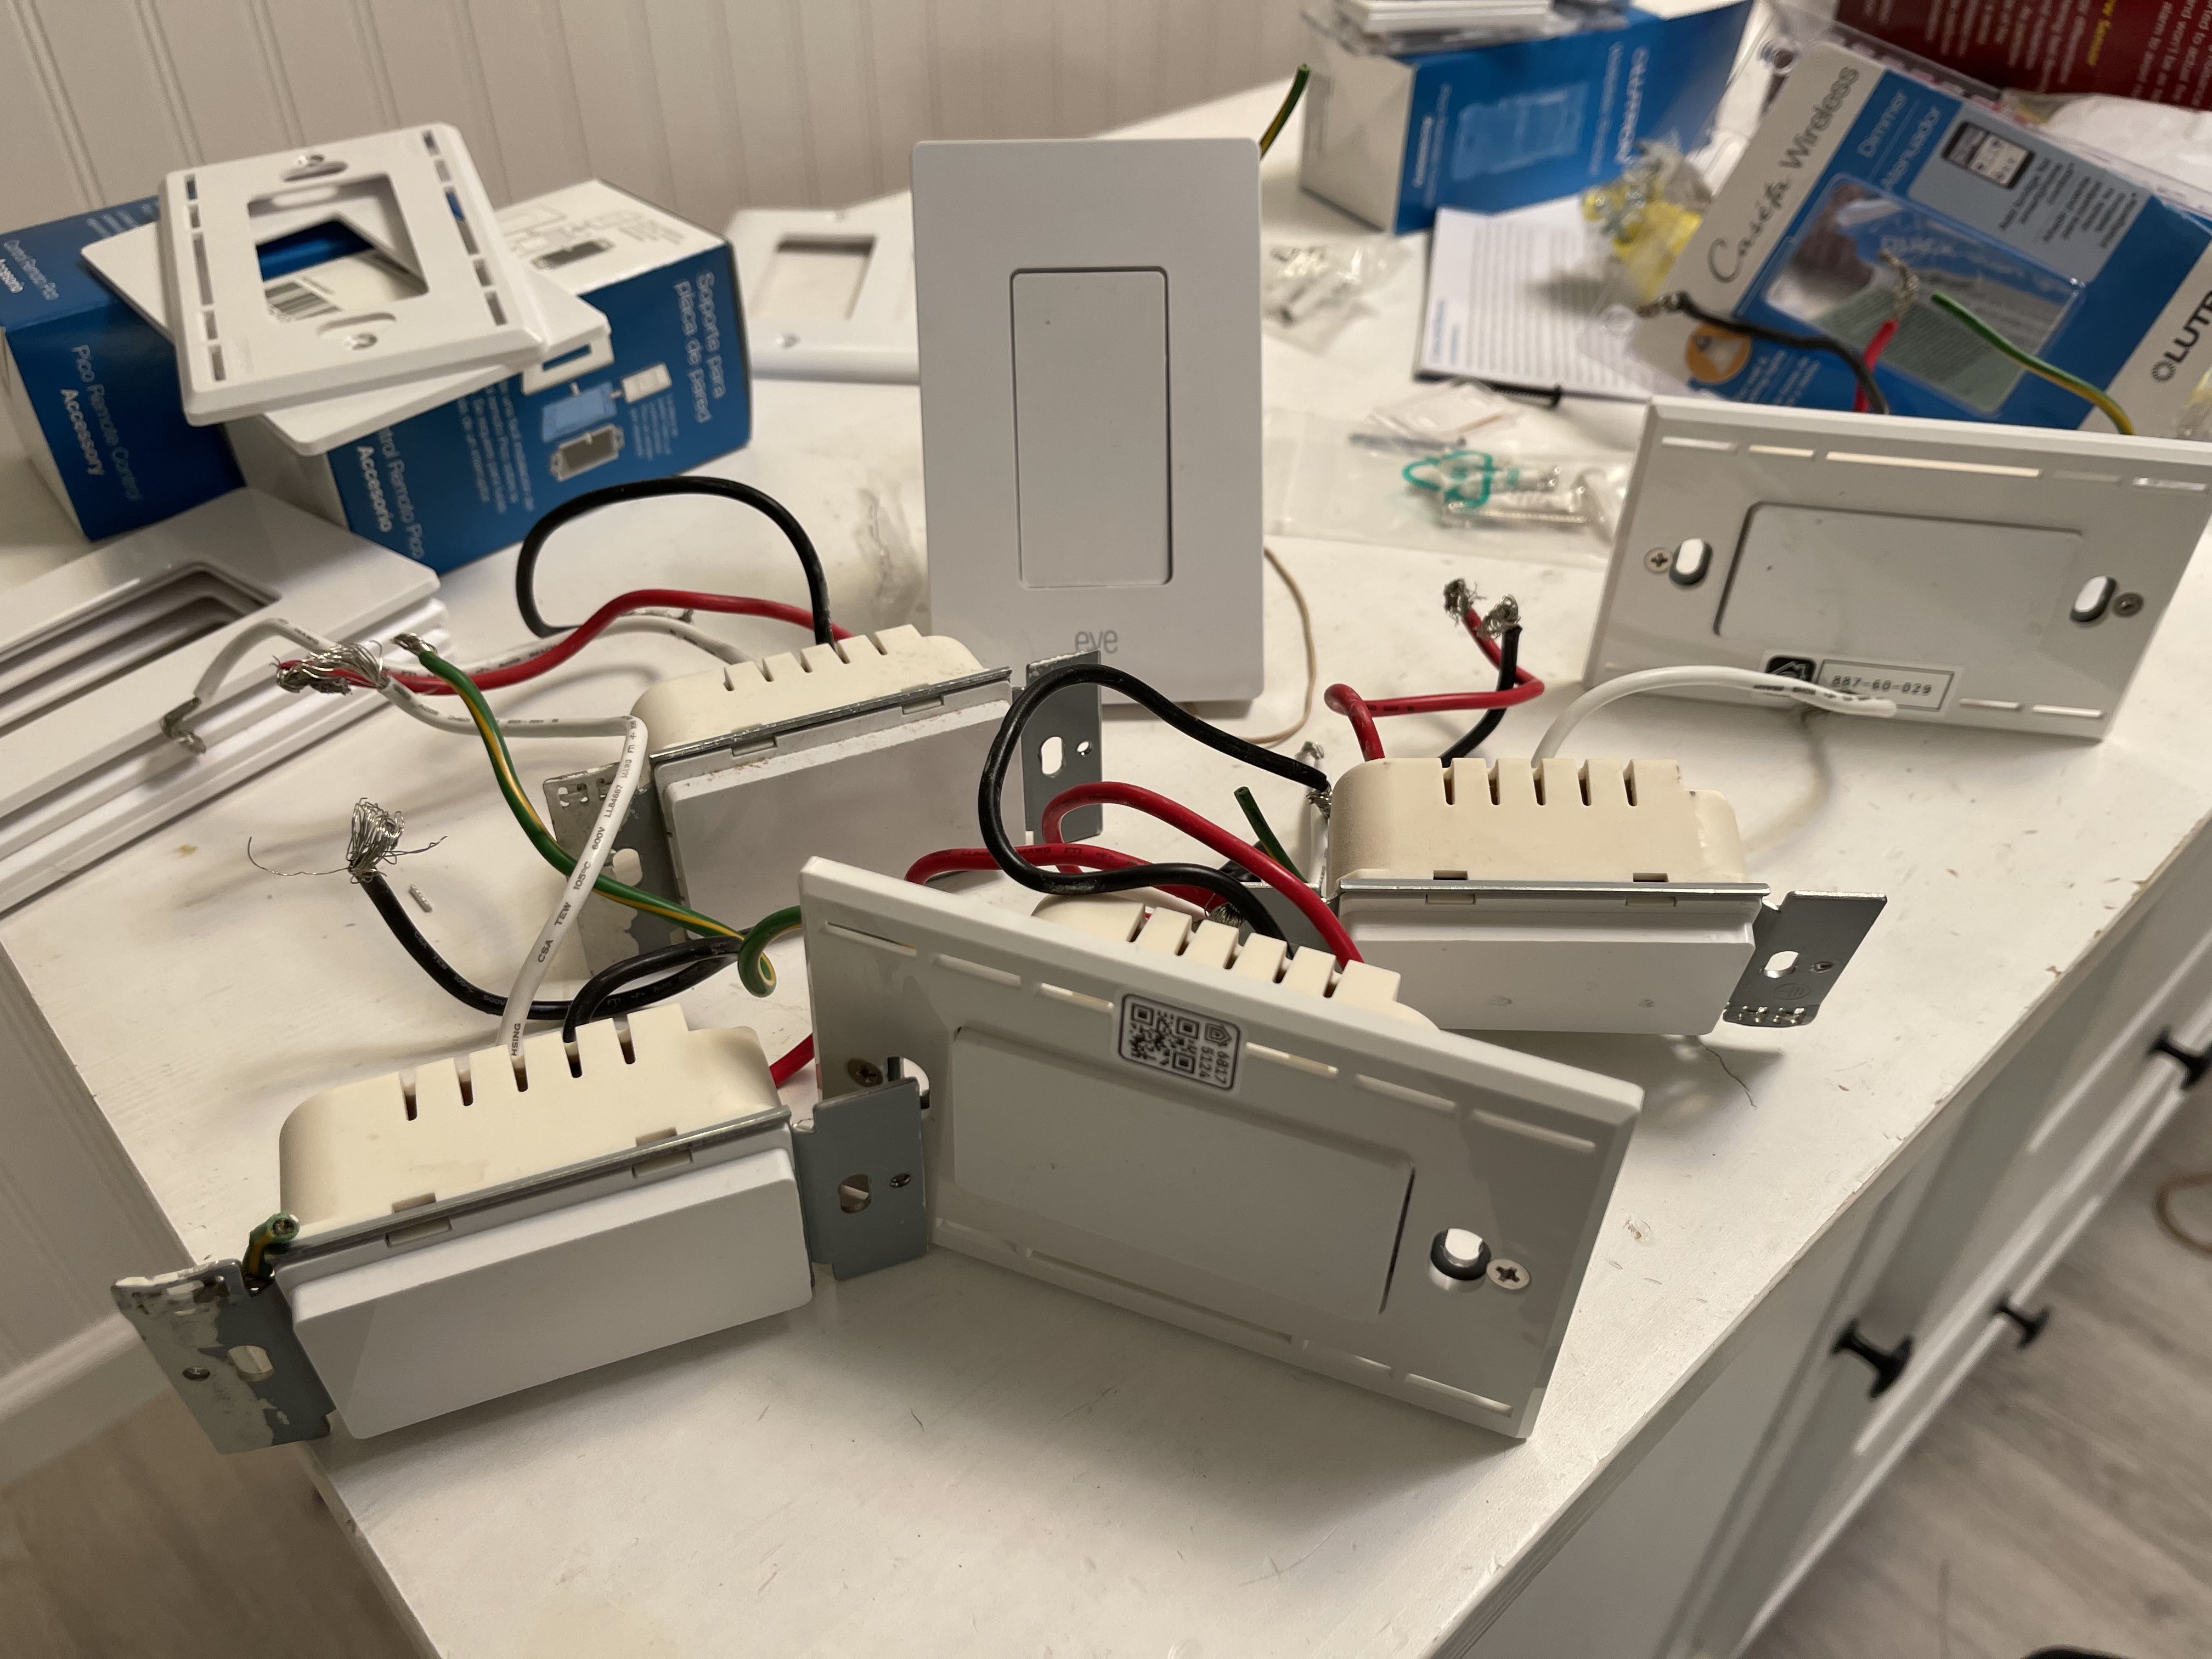
Also, if you are going to be cutting dozens of openings in drywall for single gang box keystone plates, then invest in a
box hole cutter for your oscillating saw. The cut will be fast, the holes will be cleaner, and if you have to patch them you'll have a perfectly sized bit of drywall scrap.
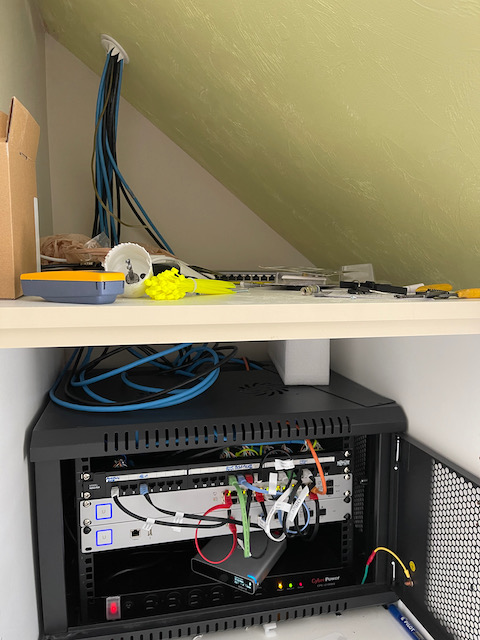 |
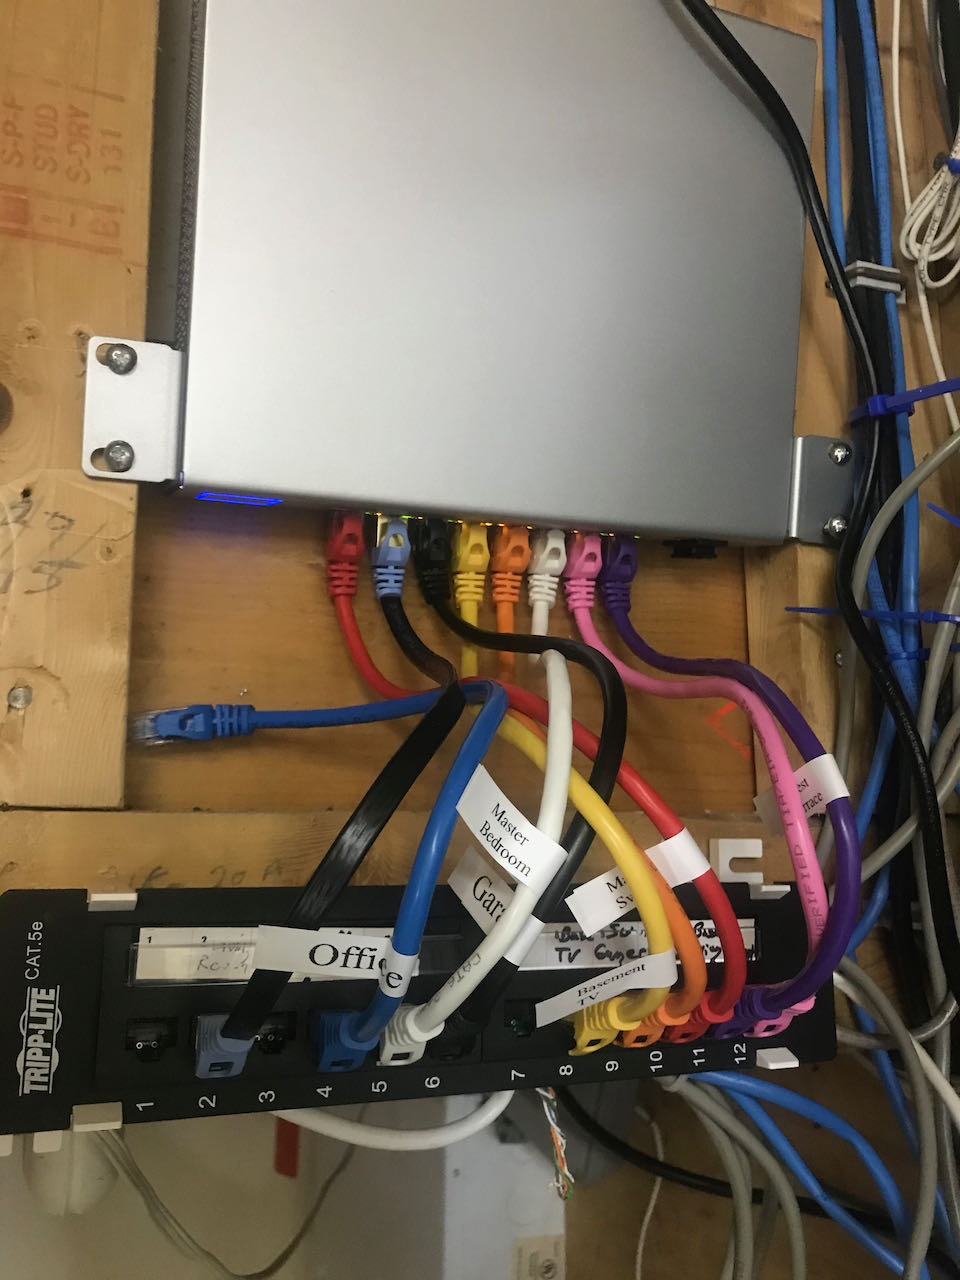
| My Network Closet |
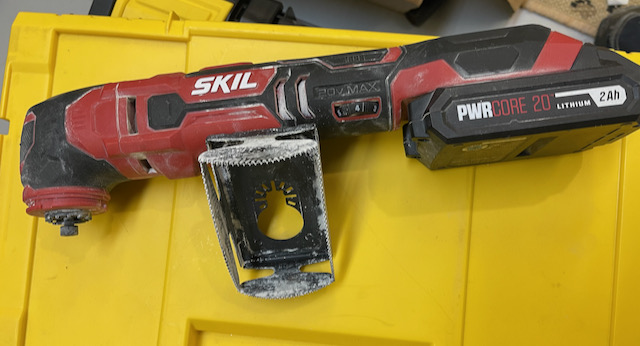 |
| A Single Box Drywall Saw |
Washlets
Ever since the day my wife changed planes in Tokyo, we've used Japanese washlet bidet seats. Unfortunately, the toilets in my old house have round bowls, while all the bowls in the new house have an oblong shape, so the expense of new seats for the family. Also, most of the toilets were too far from a convenient power outlet requiring a bit of wall cutting and wiring.
If you've never used a washlet, I highly recommend it for cleanliness and the luxury of a warm seat in winter.
Costco is a good source.
Sound
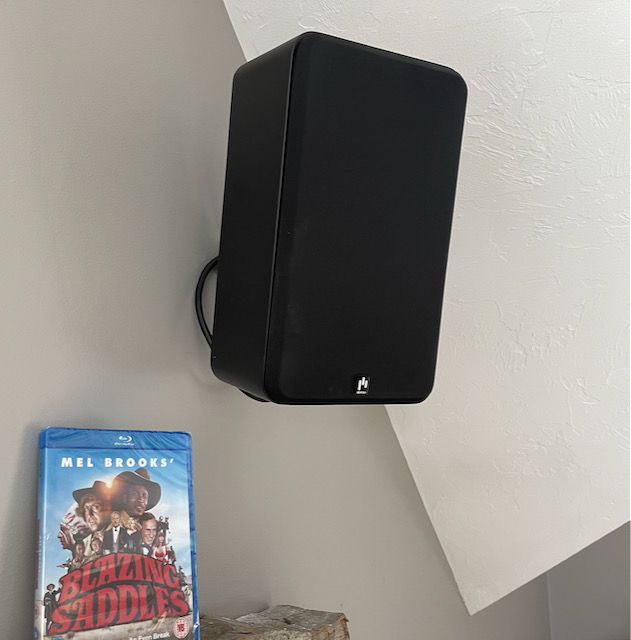
The inaccessible attic over the general purpose room gave me a narrow window to pull speaker wire for height effect ceiling speakers and my rear surrounds. Atmos might not be a must have, but it is a nice to have. The recent release of the Lord of the Rings with Dolby Atmos tracks made me very glad to have my
ceiling speakers and
good surrounds, although the odd shape of the room didn't allow for the absolute most accurate placement of the surrounds. I only installed 2 ceiling speakers, but I left wire in the ceiling in case I ever upgrade to 4.
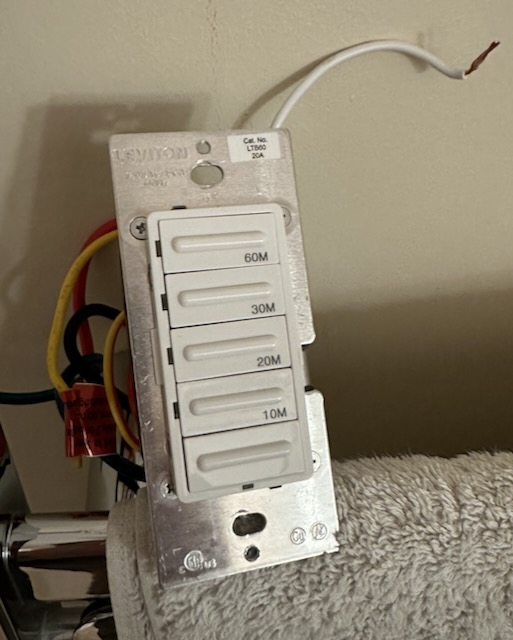
The one piece of tech the previous owner left me was some abandoned and non-obvious how to drive Sonos speakers mounted over the deck and in the sunroom, probably left just because it was too much trouble to patch the resulting holes. Much prefer the
HomePod. Oh, not to forget the whole house vacuum cleaner, which we have used once; letting my
robot vacuum free every day works better and takes less effort.
 |
| Aperion Novus Slim Satellites as Surrounds |
Cameras
I went with Ubiquiti Protect
cameras, and
doorbells. I like wired cameras, which makes it sad the doorbells aren't POE like the rest of Ubiquiti's line. Still, my uniform WiFi coverage make the connection to the doorbells almost reliable. Powering them involved putting a transformer into a 2 gang box inside the wall shared by the doorbell, and powering it with electrical wire brought in from the adjacent light switch box—I hope this does not violate some obscure building code. A great thing about this house is that all the light switch boxes contain neutral wires—what luxury; half the light switches in my previous house couldn't be upgraded to smart because of the lack of a neutral. (Although by some black magic Lutron dimmers work without a neutral.) The opening of the transformer boxes, I covered with Lutron Pico remotes instead of ugly double gang blanks; two birds, one stone.
The other cameras are wired with Ethernet strung through the attic and powered by POE. They've been fairly reliable although it seems like every few days one will go offline for a few minutes. I have not been happy with the
G3 bullet, even with its optional infrared accessory, it has not shown anywhere near the night performance of the other cameras.
Protect is hosted on a
Gen 2 Cloud Key upgraded to the max 5TB of storage. Five cameras have not stressed it as it chugs through the video streams.
While they do have a security component, on property cameras are just generally useful, keeping track of deliveries, and scrolling through the day on Ubiquiti Protect on my Apple TV has turned into one of my favorite diversions. I've a lovely view of my backyard for which I splurged on a
G4 Pro, and it's pleasant listening to bird song my double pane windows block. On the negative side, my G4 Protect doorbell camera crashes the Protect Apple TV app every time. [Update: no longer crashing.]
With HomeBridge integration to HomeKit, a doorbell ring buzzes my Apple Watch, shows a live video feed of the visitor, and chimes the HomePods. For this, I installed
HomeBridge and the
appropriate extension on the Mac Mini in the network closet. I put a
HomePod Mini in my wife's office to act as a doorbell, as she refuses to wear an Apple Watch and the near constant torrent of notifications she gets on her phone mask doorbell notification. Still, I can't say that we notice all rings, and delivery men have an aversion against pressing the button.
 |
| Ubiquiti G4 Doorbell |
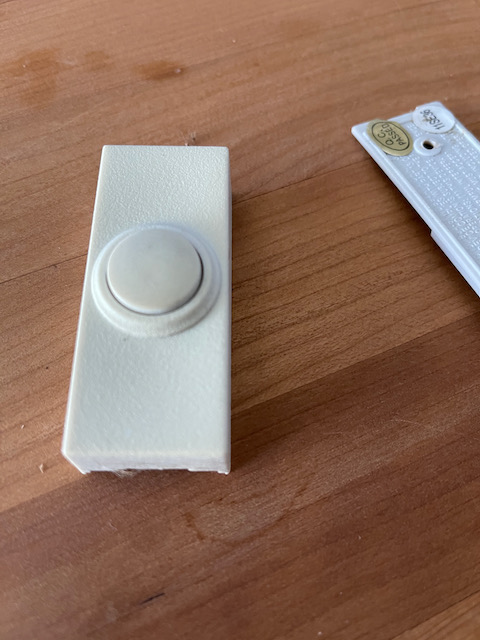 |
| Broken Doorbell |
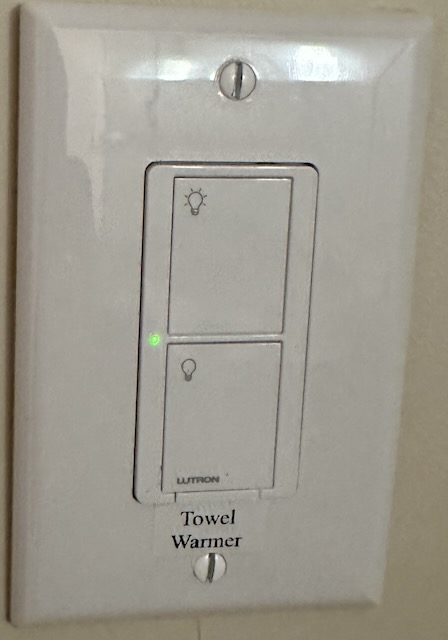
Smart Switches
At my previous house, I had installed a smattering of Eve smart switches, mainly because I'd been erroneously avoiding hub based devices. But because the current house has many dimmable lights, I went with 100%
Lutron Caseta and could hardly be happier. They have been nearly flawless in working, and the Pico remotes have allowed me to combine separate switches into groups. For instance, the remote mounted at the garage entrance, will not only turn on the overhead light at that door, but also, the light over the adjacent hall, and the stairs leading upstairs. I found I could put all the real switches in central positions, and put the remotes around the edges making grouped lighting convenient.
I can turn on the backyard lights from a variety of places throughout the house, or just use Siri from a convenient device. My wife has a Pico remote in her car to turn on the garage adjacent lights as she arrives. Unfortunately, we are bumping up against the 75 device limit to the Caseta system, maybe fortunate to my bank account.
 |
| A smattering of switches and Pico remotes |
 |
| Pulled so many switches |
All the common lights in the house are automated through HomeKit to turn off after midnight, and the driveway post lights are set to turn on at sunset and turn off after 10.
I ran into the odd condition where low power LED lamps—a 3 LED, 12W total, chandelier—wouldn't go completely black as the current used to power the switch's internal status LED was enough to emit some light. Solution: a single 6W LED mixed in with 2 lower powered ones keeps it dark. Yes, Lutron will sell you a very expensive dimmer for low power LEDs, but bumping up the wattage is a lot cheaper.
Speaking of LEDs, the house was filled with energy hog incandescent lights, which I methodically eradicated in favor of LEDs. Thankfully, as an
Amazon Vine reviewer, LEDs are virtually free for me. I've a preference for 3000K lights in most rooms, and am happy with the LED replacements for fluorescent tubes.
If you are going to be installing dozens of switches, you will find Wagos much easier than twist caps for connecting wires. I certainly lack the skill to reliably twist together and recap 5 neutral wires, but I can easily trim the wires and insert them into a
5 conductor Wago. You probably won't need the 10 guage version (like 221-613), I erroneously bought some and they are too big.
 |
| Wagos are so easy |
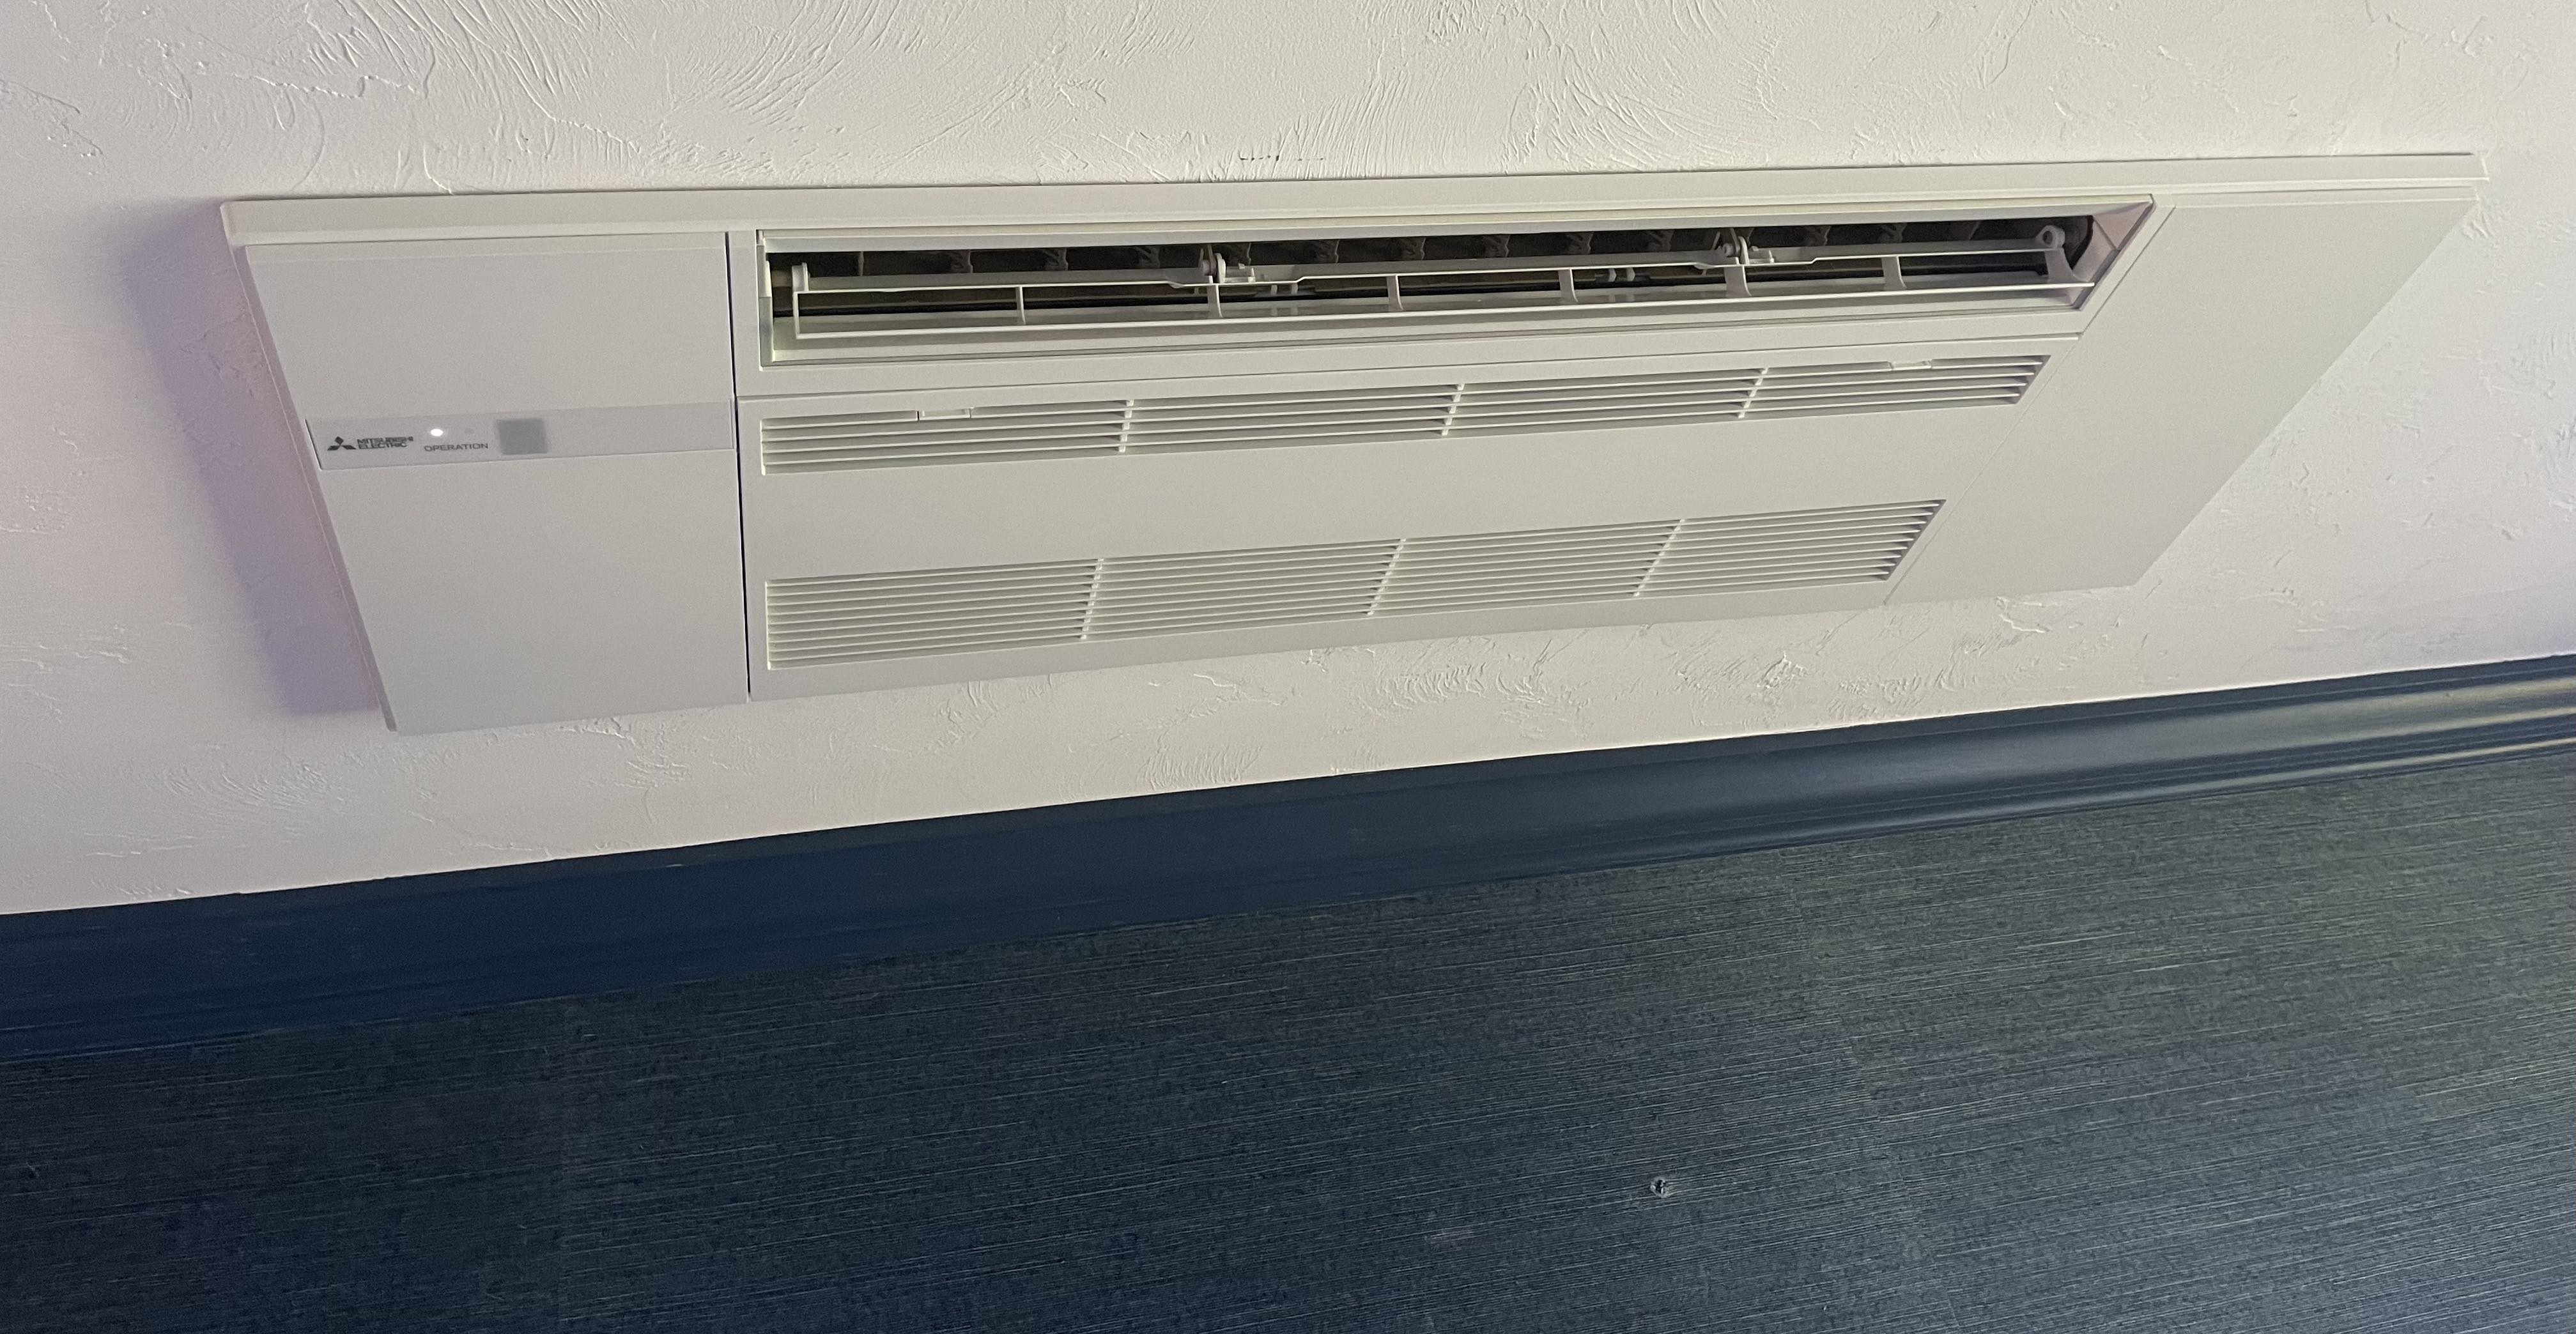
Smart Thermostats
There are 2 cooling zones and 5 heating zones in this house. And each had an old school mercury switched bimetal coil thermometer—not even the mercury free kind with a magnet. The heating thermostat for the entire second floor was in my son's room; great for him, not so good for anybody else.
Every single thermostat was wired with the minimum number of wires needed—2 for heating. I spent a couple weeks figuring out how to get new wires from one end of the house to the other and into the fortress which is my boiler room. I had spools of 5 and 7 conductor wire, and I finally got them there. An HVAC guy wired it into the boiler controller and AC air handlers. He insisted on wiring the smart thermostats: my favorite
ecobee 3 Lite model himself. We coalesced each AC thermostats with one of the heating thermostats: thus there is now only 1 thermostat in the basement, and 1 on the second floor. He disposed of the mercury thermostats for me, thankfully.
I've added many ecobee temperature sensors. For example, second floor temperature during sleep hours is determined exclusively by the temperature in my children's rooms and not the temperature at the thermostat in the hall which tends to be 3°F cooler than the bedrooms. Without the sensors, my kid's rooms would be unnecessarily hot during winter.
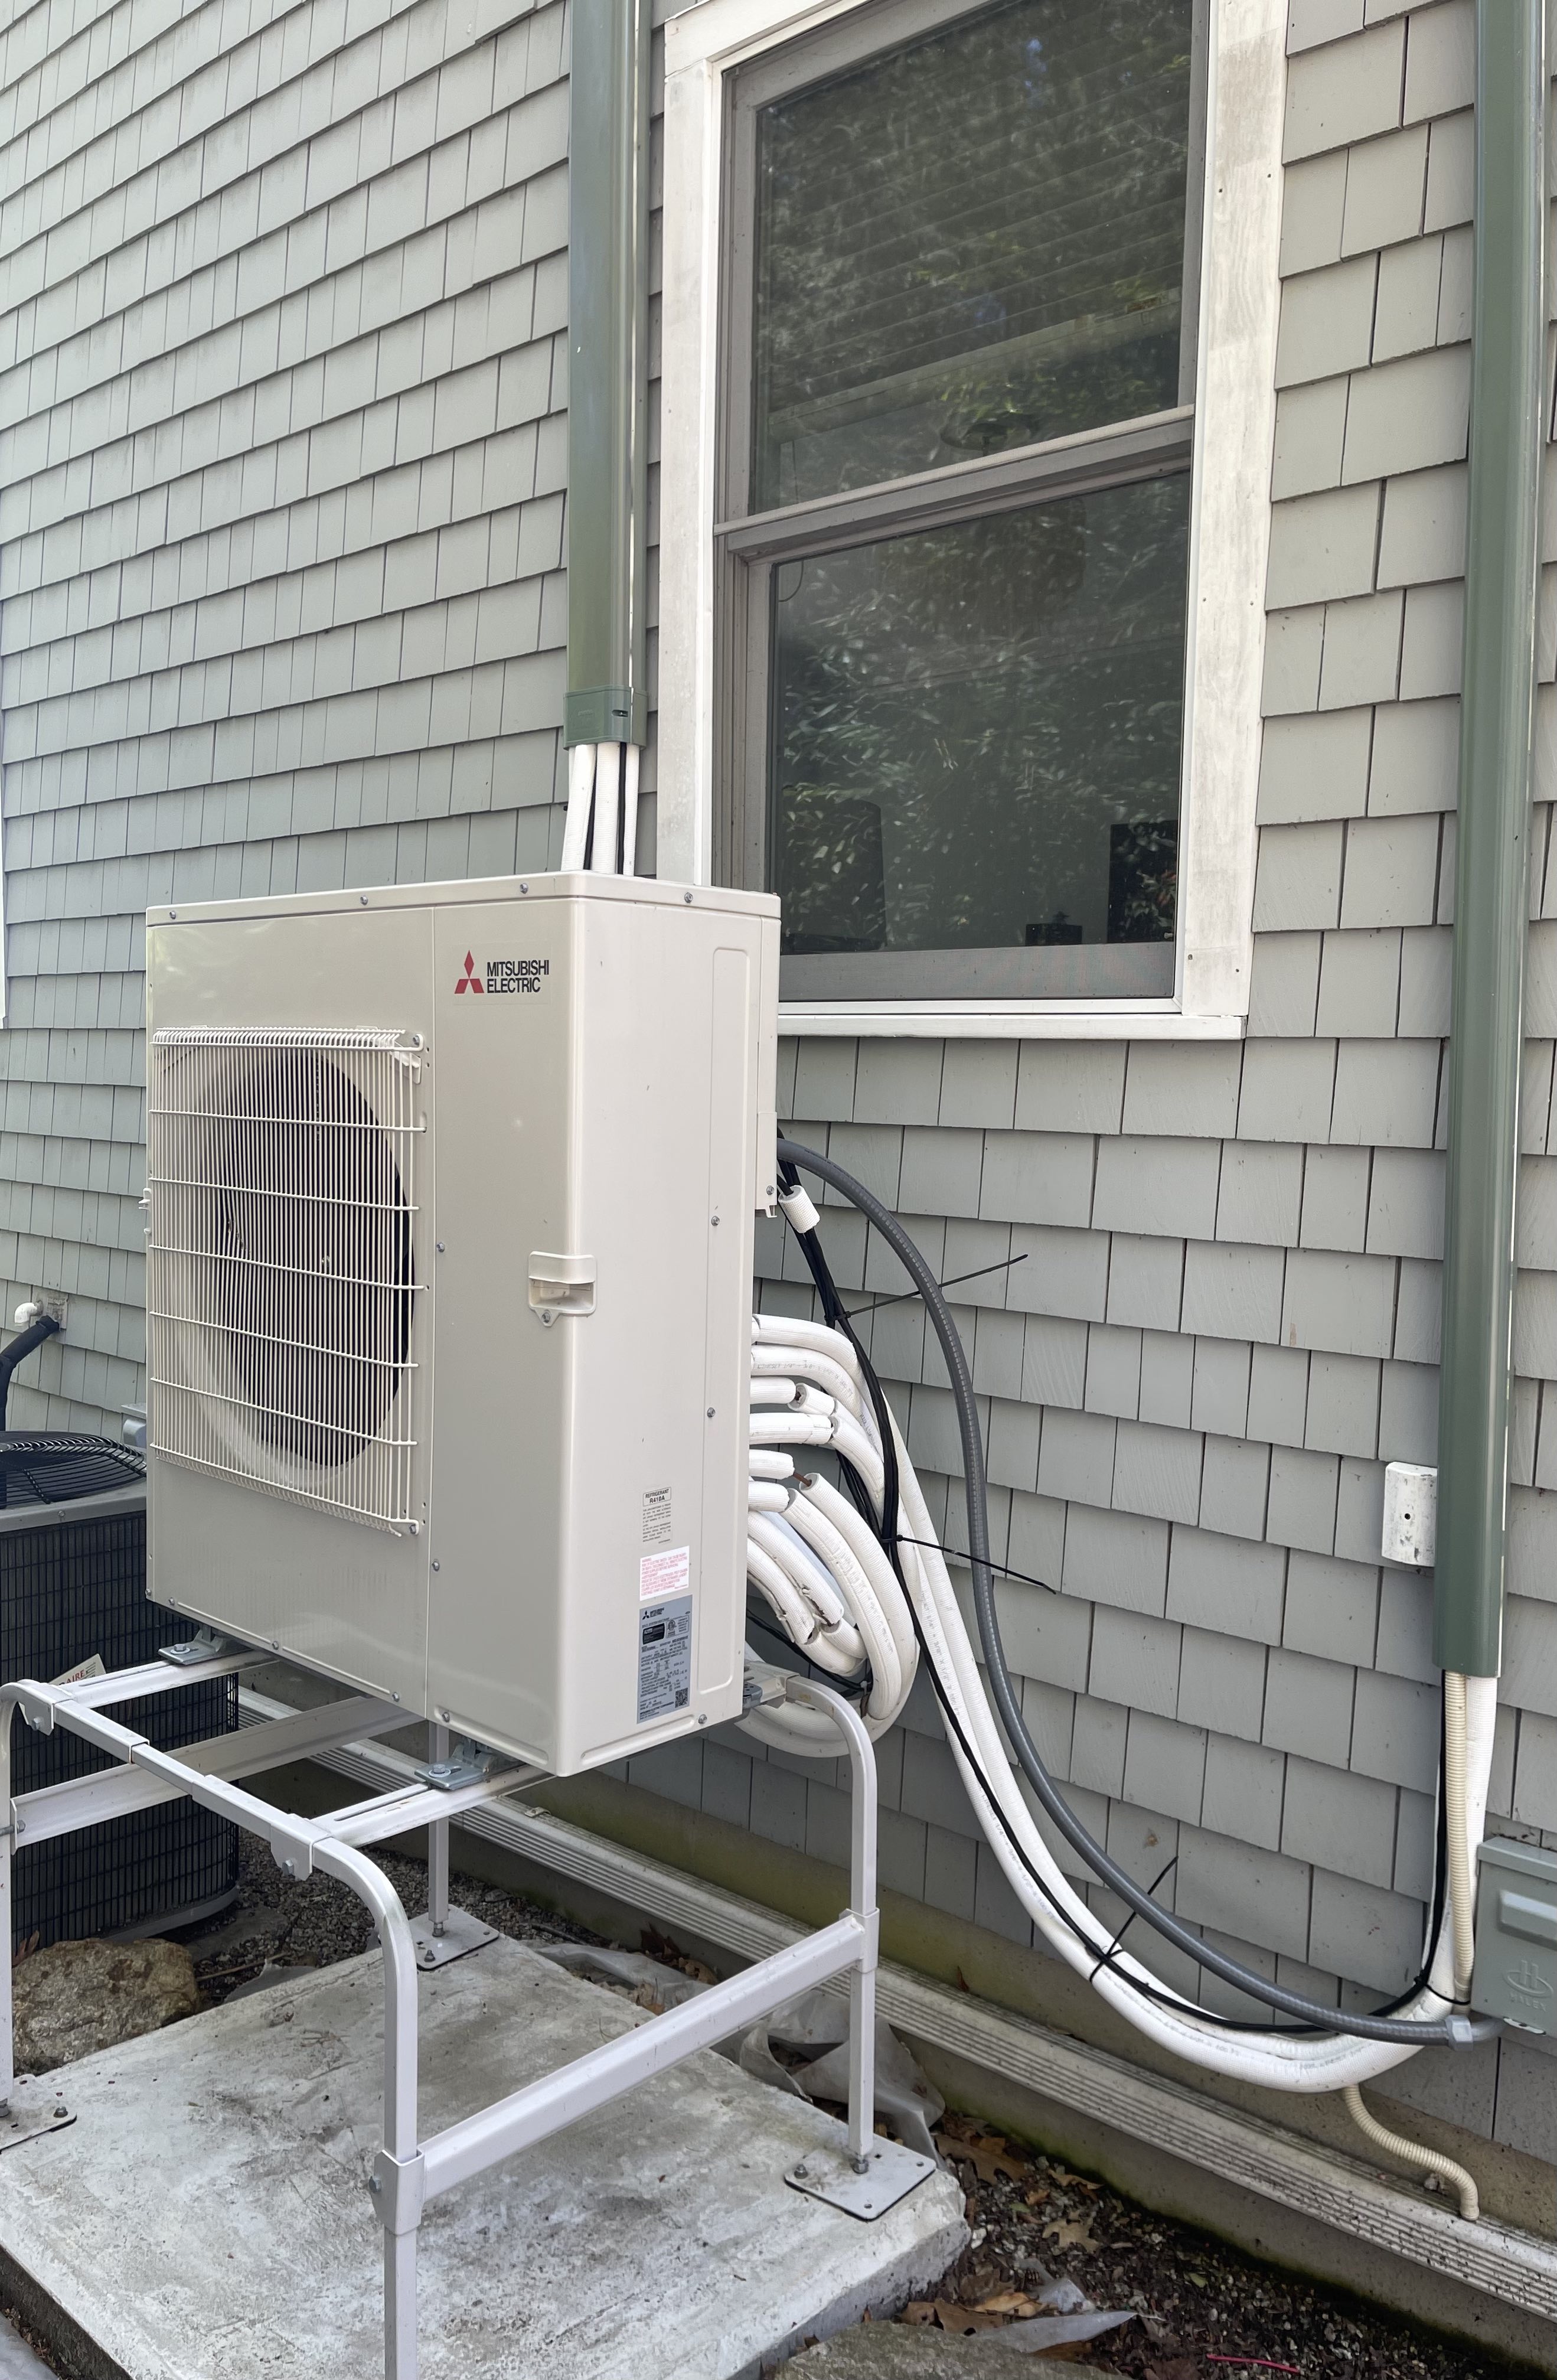
This house is going to be exorbitant to heat and cool as it is. Missing the natural gas furnace and mini-split inverters from the old house, but oil heat and central air is how it's done in my new area.
 |
| Box of Mercury Thermostats vs Ecobee 3 Lite |
A Roof
By far, the biggest expense was installing an Owens Corning shingled roof to replace the disintegrating original. Roof technology has improved markedly since 2000, what with improved ice shields, better airflow through the ridge vent, advances in durability. Regardless, I'd like to put in solar panels soon, and a new roof was step number 1 on that journey. I looked at Tesla tile roofs, but it seemed like it couldn't be done on any kind of reliable schedule, and this place needed a roof before winter set in. And it was expensive when compared to an asphalt shingle roof as opposed to a fancy tile roof.
Broadcast TV
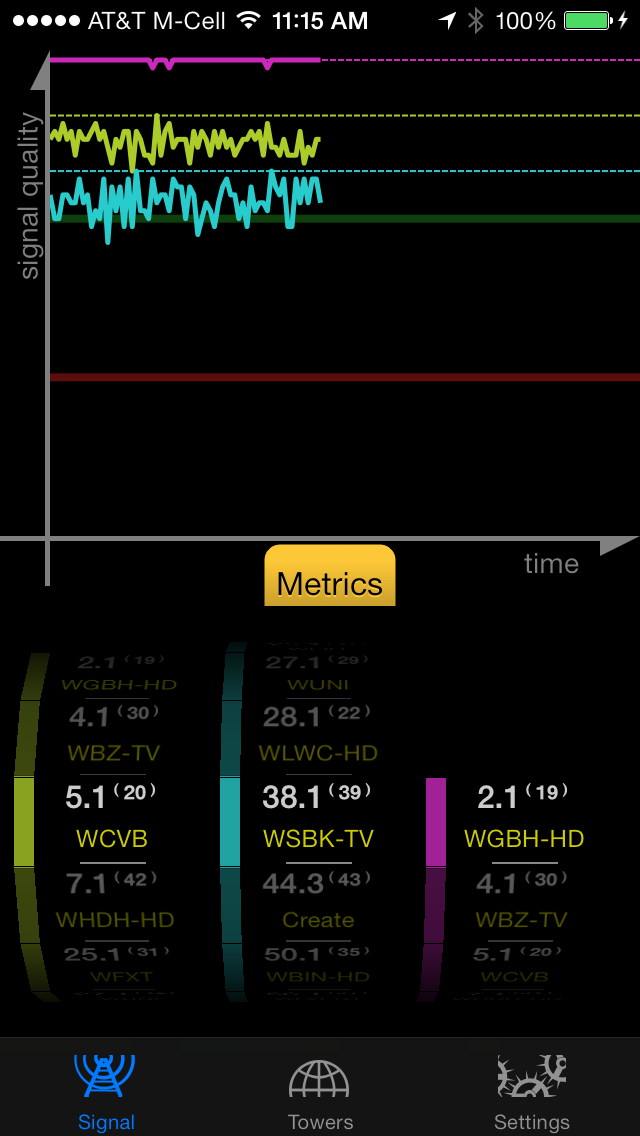
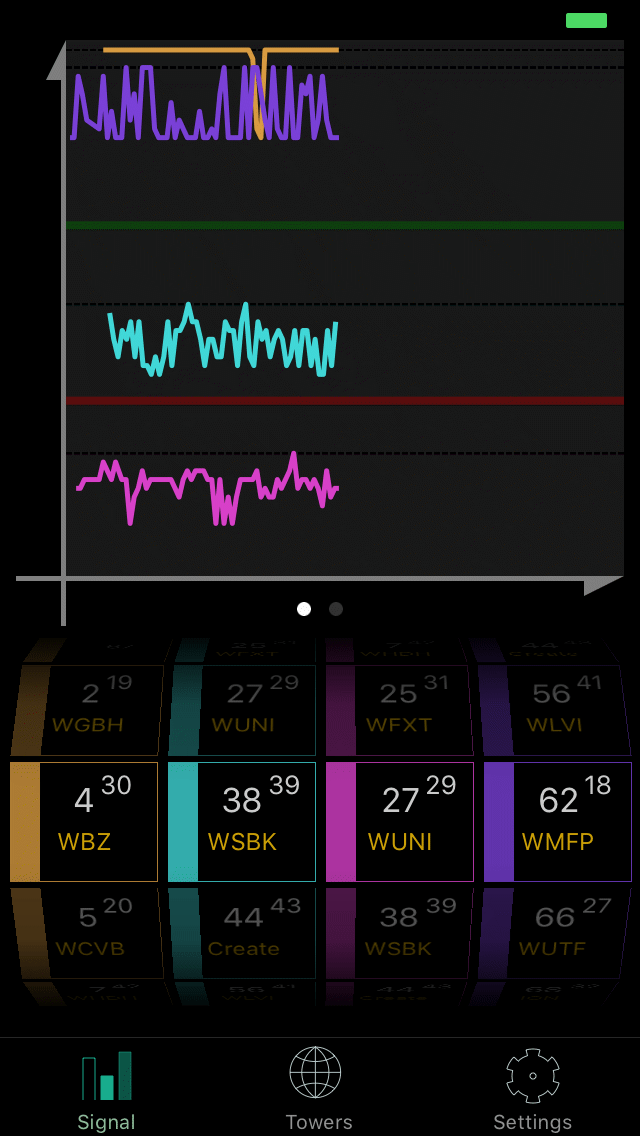
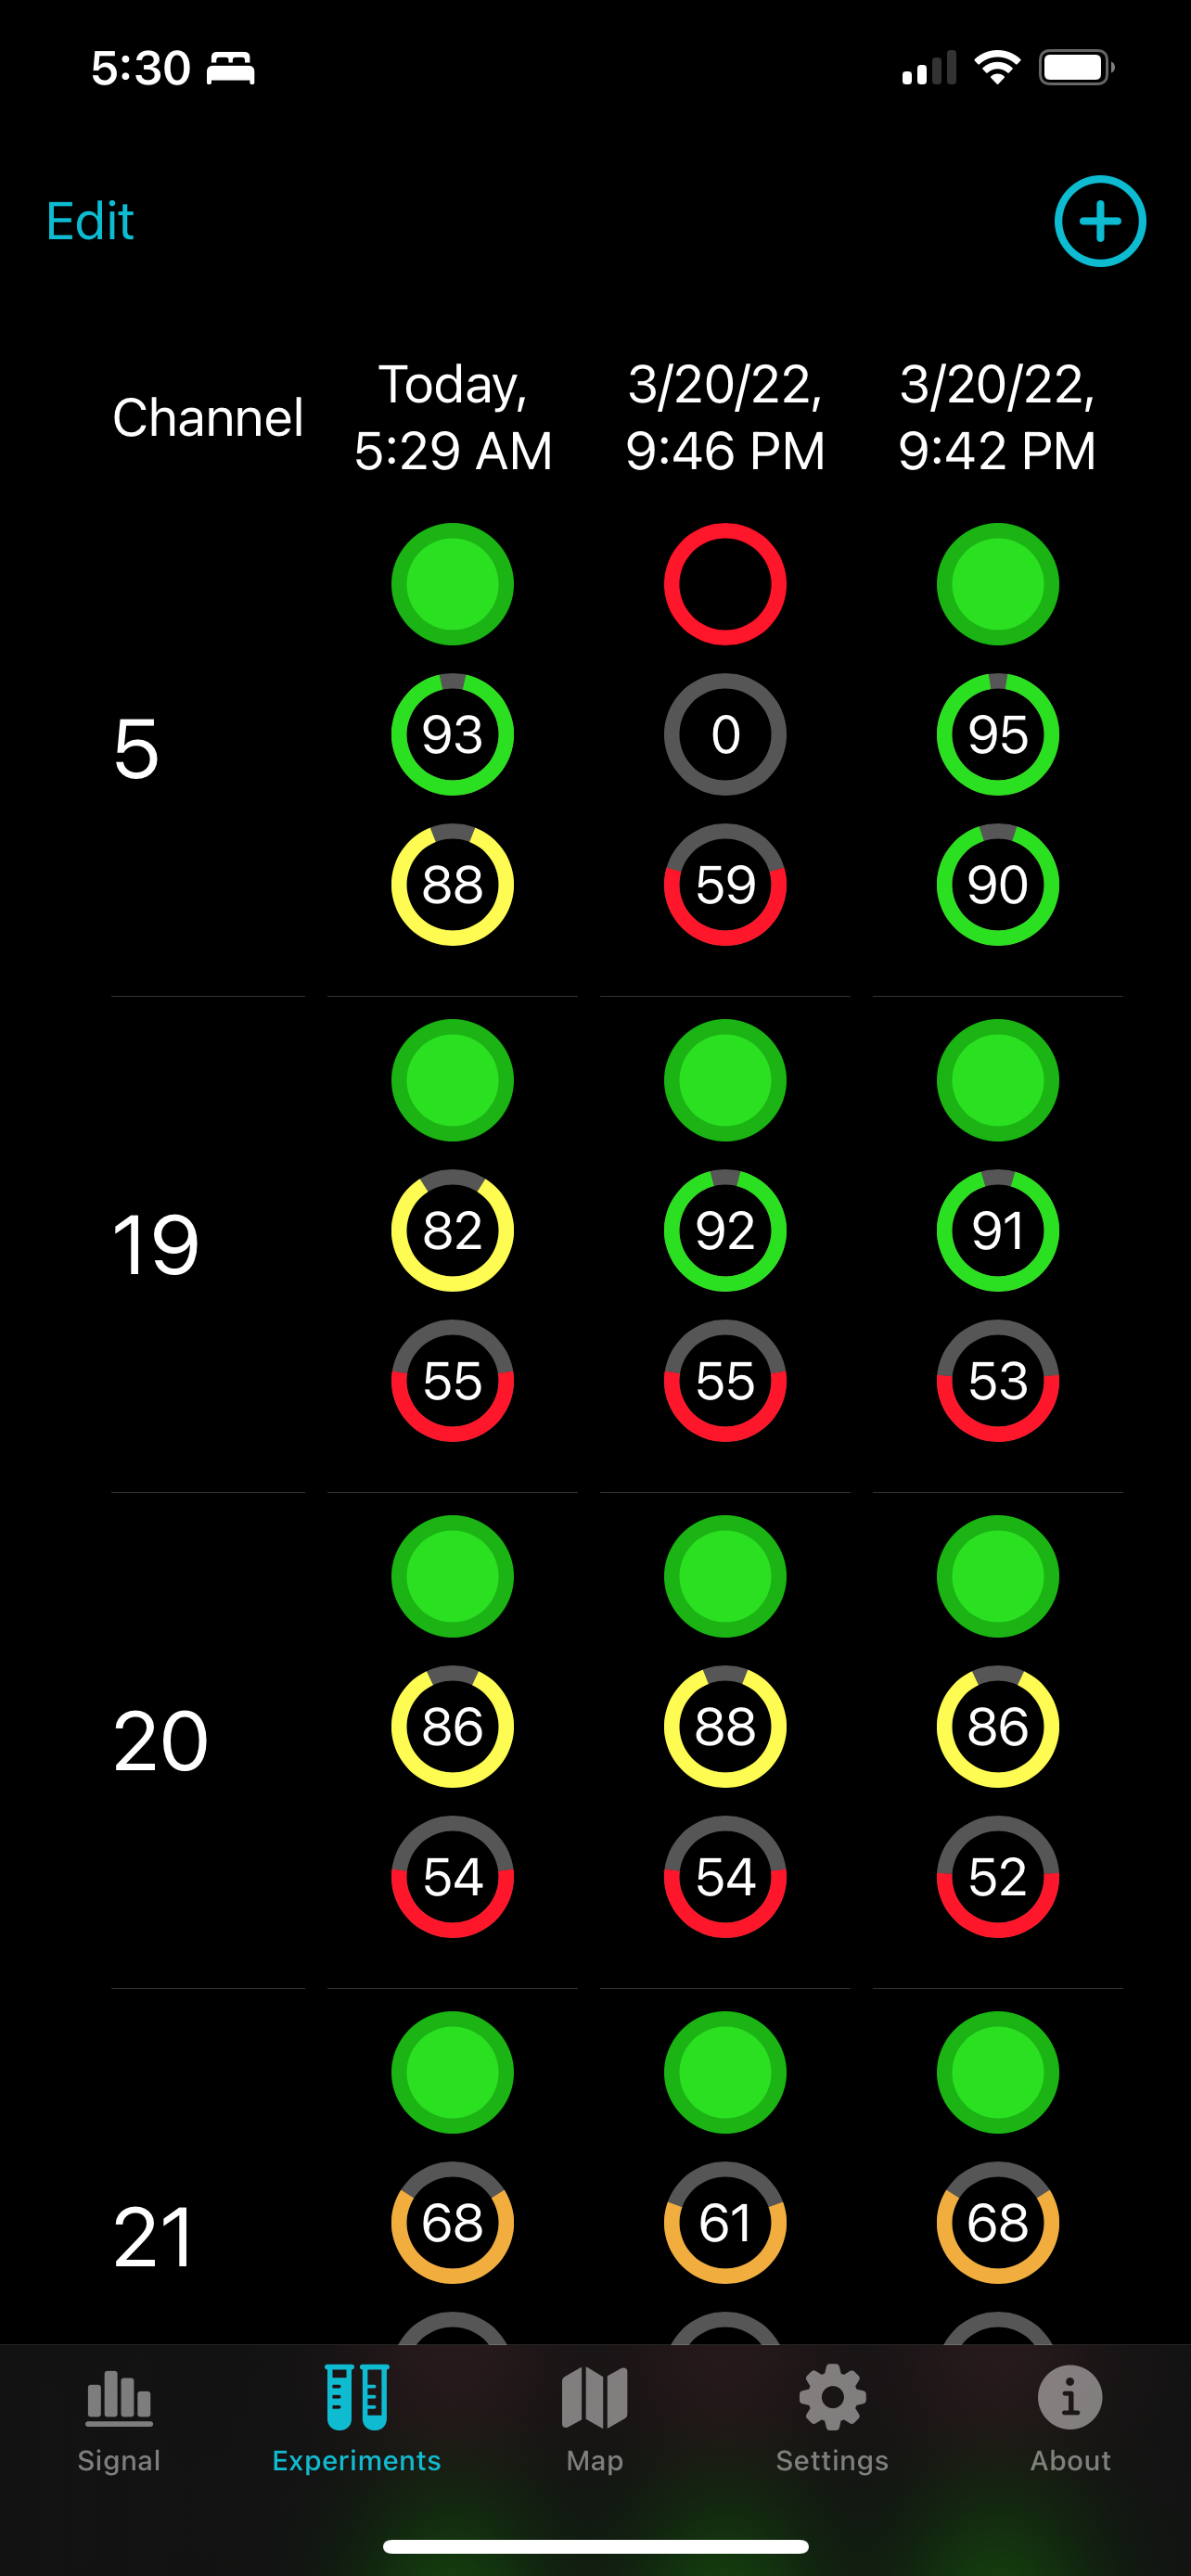
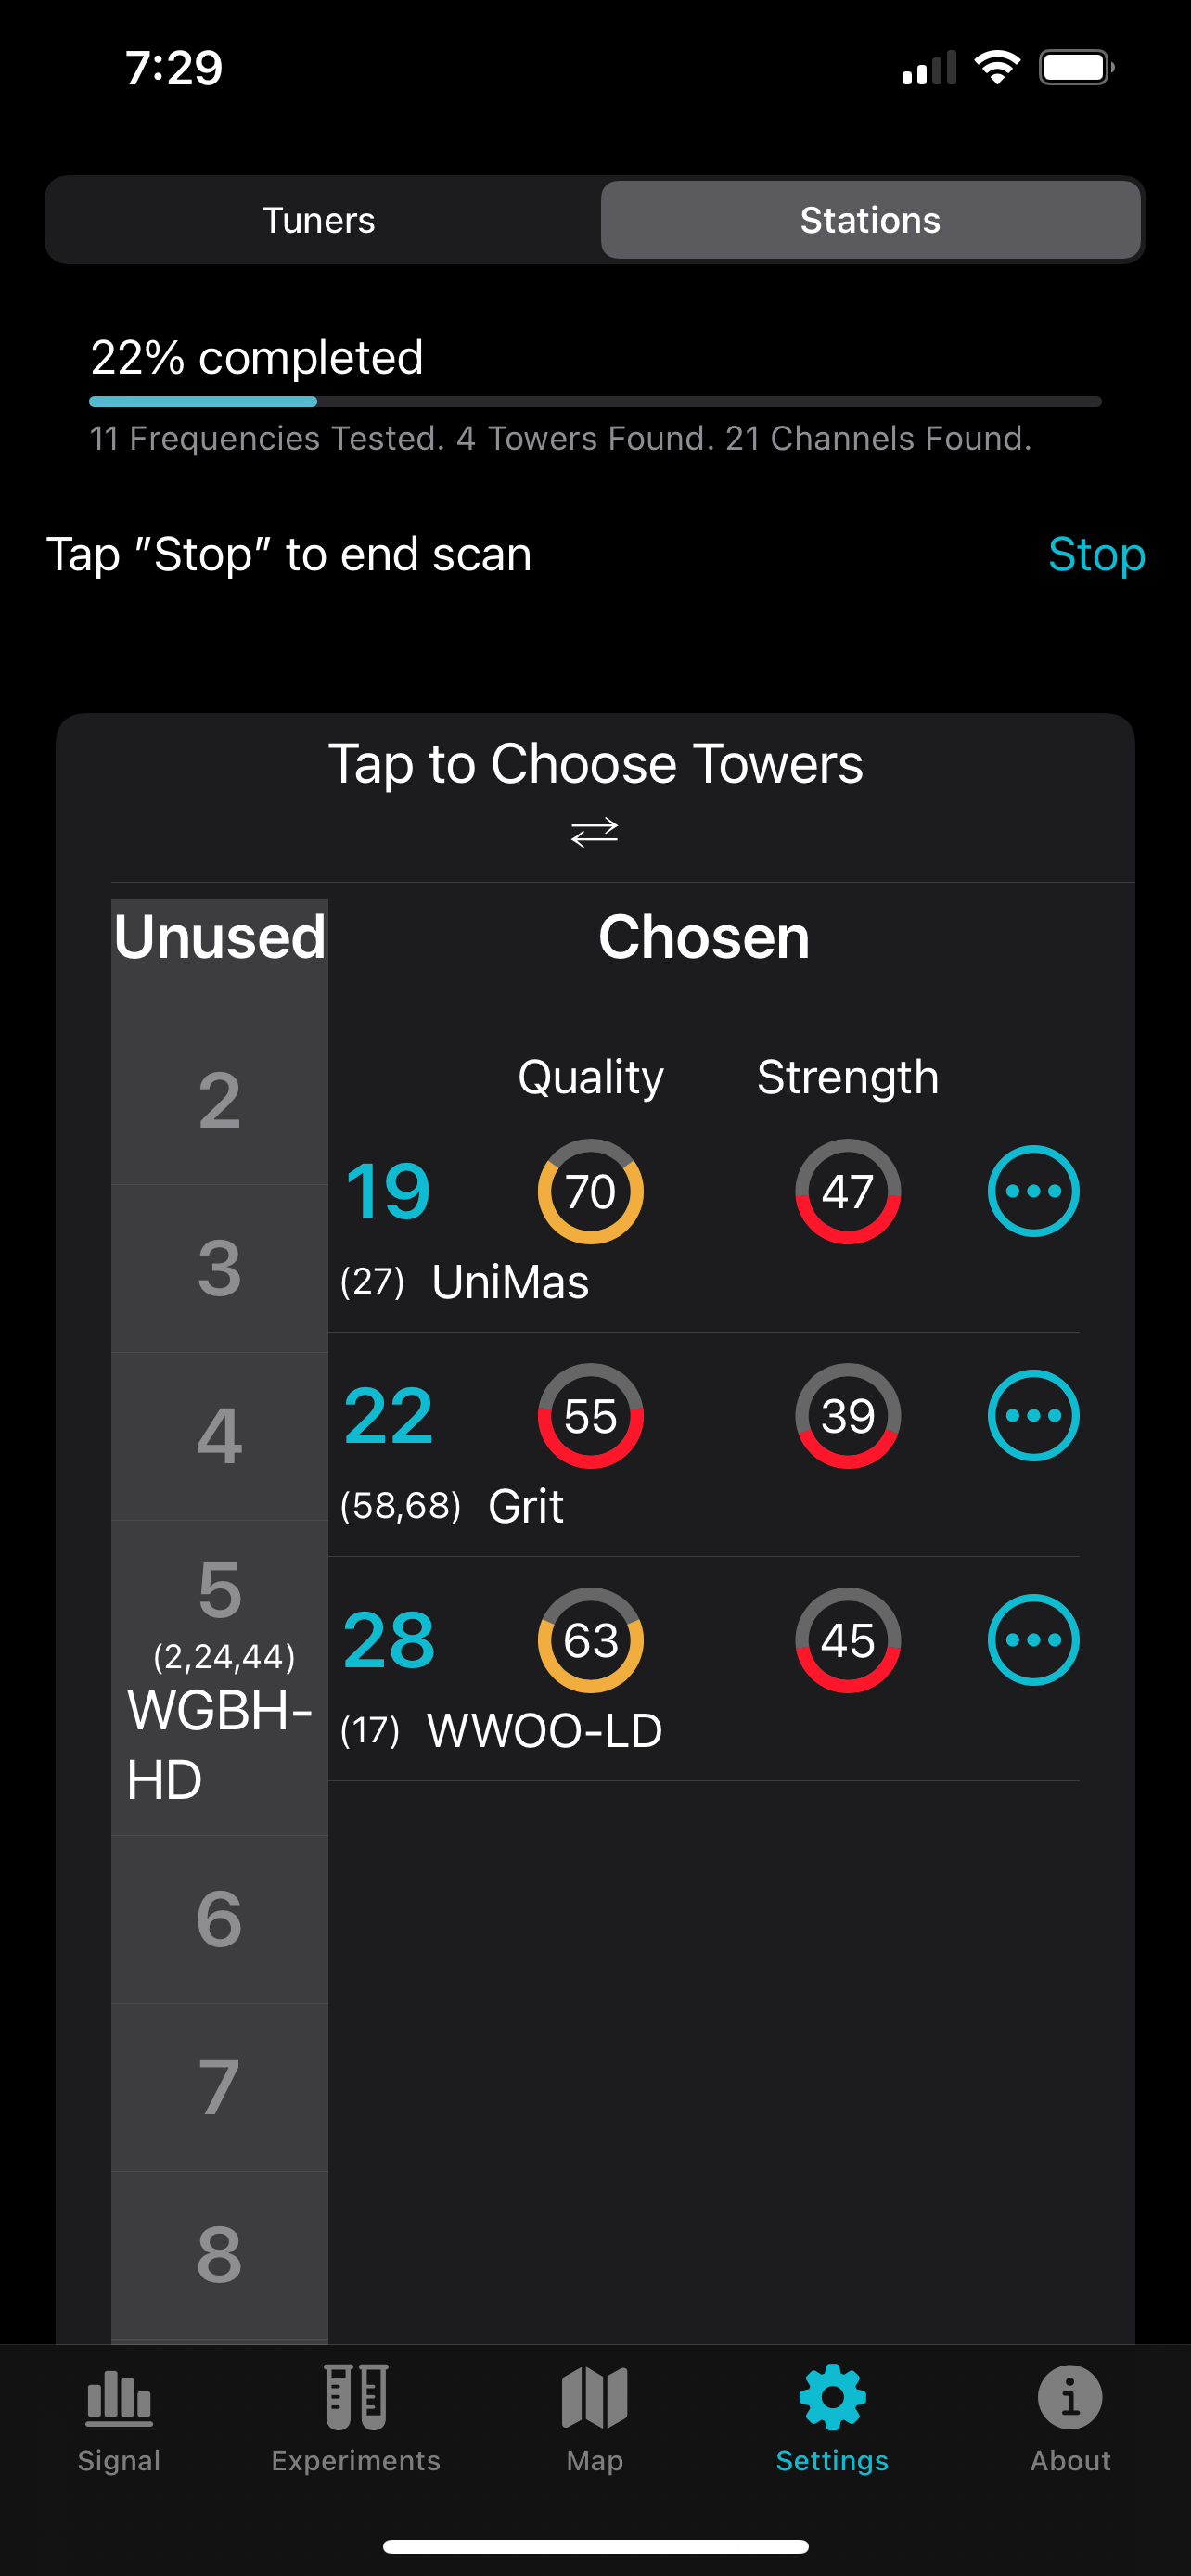
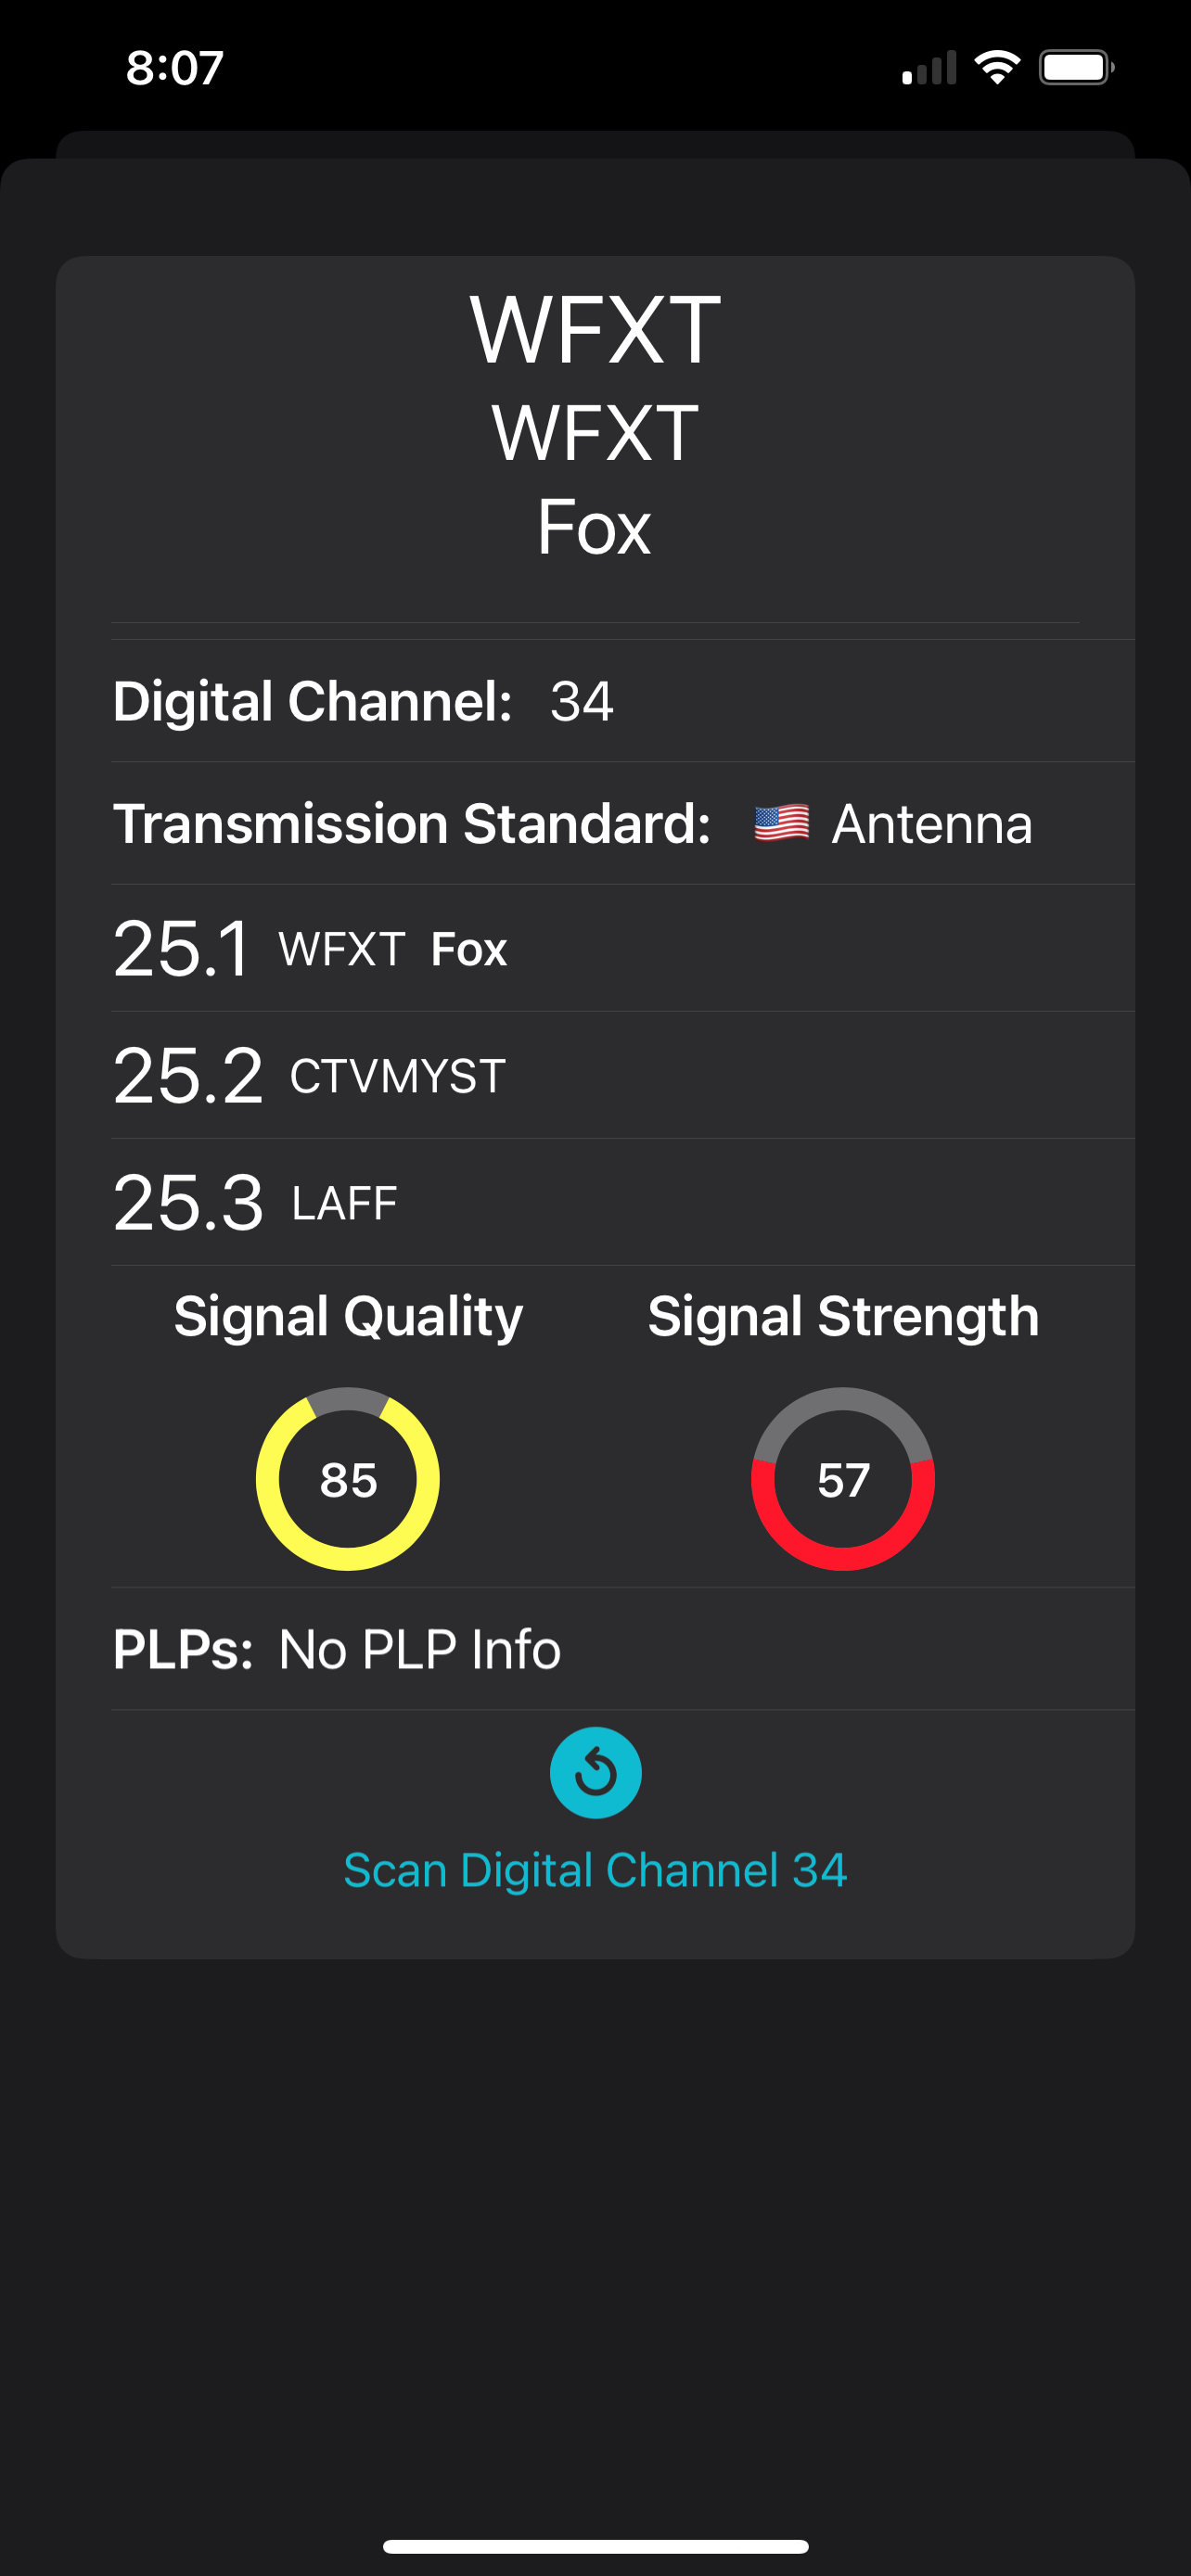
I had the
roofers put a
large J mount high up, under the eves, to which I attached a largish UHF/VHF antenna (a
CM-5018) in hopes of pulling in my
local PBS affiliate which took the FCC repack money and moved to the garbage channel which is digital 5. Surprisingly, due to my clean line of sight and a good hundred feet of elevation I get much better signal quality, with less effort here than my old house despite being farther away from the local antenna farm. Didn't even find the need for a pre-amp as the new antenna is maybe 18 feet directly above the TV stand where I keep my
HDHomerun and
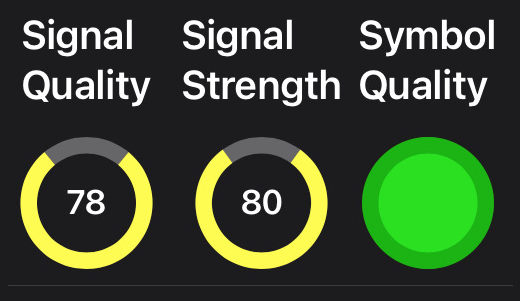
Tablo. Short coax runs help. I'd been looking forward to making use of my own
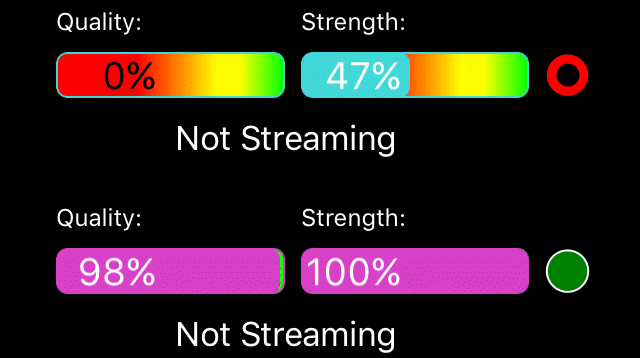
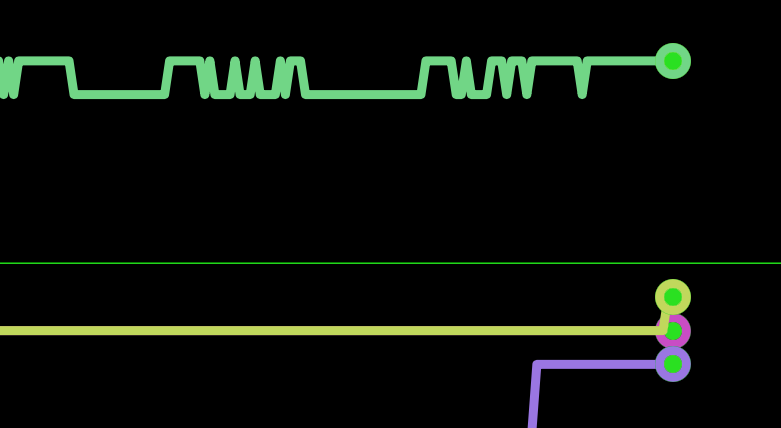
Signal GH app, but I was getting 100% signal quality on the first pointing.
This house had been wired for an era where media was distributed by individual coax cables to cable boxes in every plausible room. When I got here, the cable modem was fed via a huge power amplifier feeding 8 coax lines in the house—doing who knows what damage to data throughput. My first act as a Xfinity data subscriber was to ask the technician to disconnect the booster and directly feed the single coax line to the room with my cable modem. In my house, we use iPads and Apple TVs via WiFI or Ethernet, there are no cable boxes, just steaming subscriptions.
Still missing the purity of fiber optic service I had at my old house.
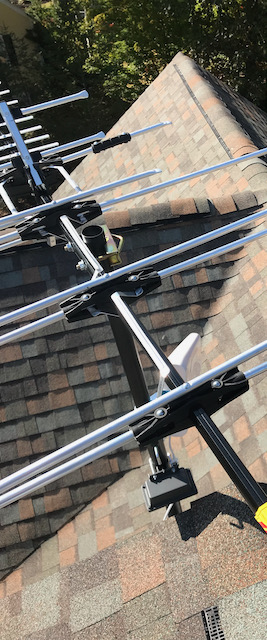 |
| CM-5018 Antenna |
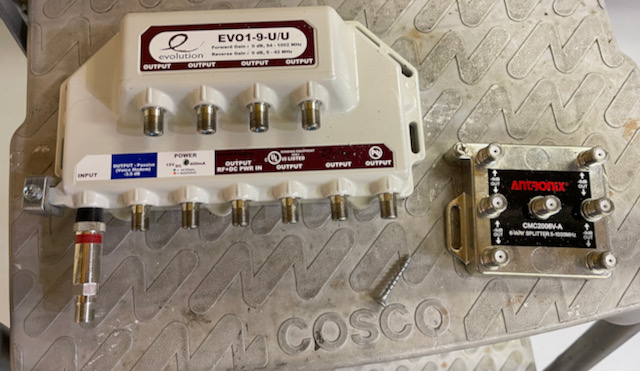 |
| Somebody Really Liked Cable TV |
Finally
I can stop with the constant DIY upgrading and get back to maintaining my apps. I may put a sensor here or there, and I might get an electrician to install a dedicated circuit to the network closet, but for now I can rest.
 |
| Finally Done |